
Last updated: October 27, 2026
Quick Answer: A 6-foot paper garland is usually enough to frame a small party table, while 8 to 10 feet works better for a bedroom wall or mantel. Paper Garland Ideas for Parties and Rooms are an easy way to finish a space with simple materials and a repeatable shape.
Paper garlands can be one of the fastest ways to make a room feel finished, and they work just as well for a birthday table as they do across a bedroom wall or a mantel. Some of the most practical ideas use simple materials—colored paper, string, scissors, tape, and a hole punch—and rely on shape, spacing, and placement more than fancy supplies.
Key takeaways
- A good garland starts with one clear shape, then repeats it with steady spacing.
- Colored paper gives the cleanest result, while cardstock holds up better for longer displays.
- String, tape, scissors, and a hole punch cover most hanging methods.
- Short runs suit tables and doorways; longer runs suit mantels, windows, and blank walls.
- Dense patterns look festive; loose spacing feels lighter and works better in small rooms.
- The easiest mistake is overloading the strand, which makes it sag and tangle.
Paper garland ideas that fit parties and rooms
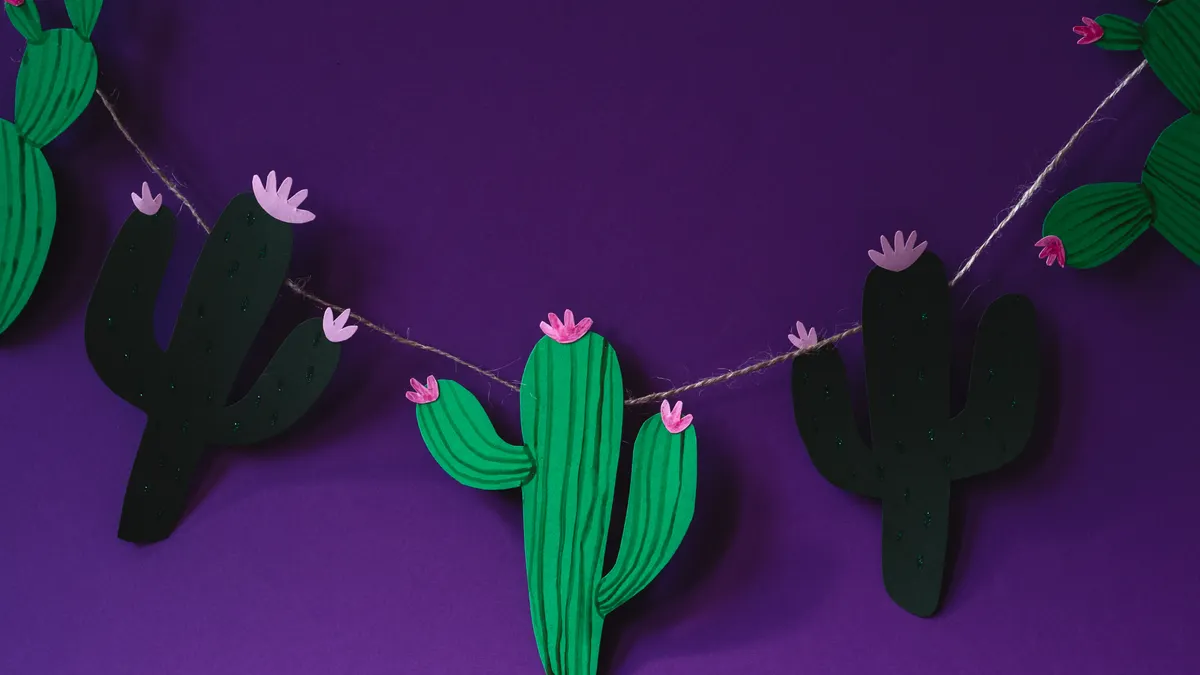
Paper garland ideas work best when the shape matches the setting, and a party space usually needs a different rhythm from a bedroom or living room. For a birthday, a 6-foot strand of circles, stars, or pennants can frame a dessert table without swallowing it. For a room, a longer but lighter garland often looks better stretched across 8 to 10 feet above a bed, desk, or window.
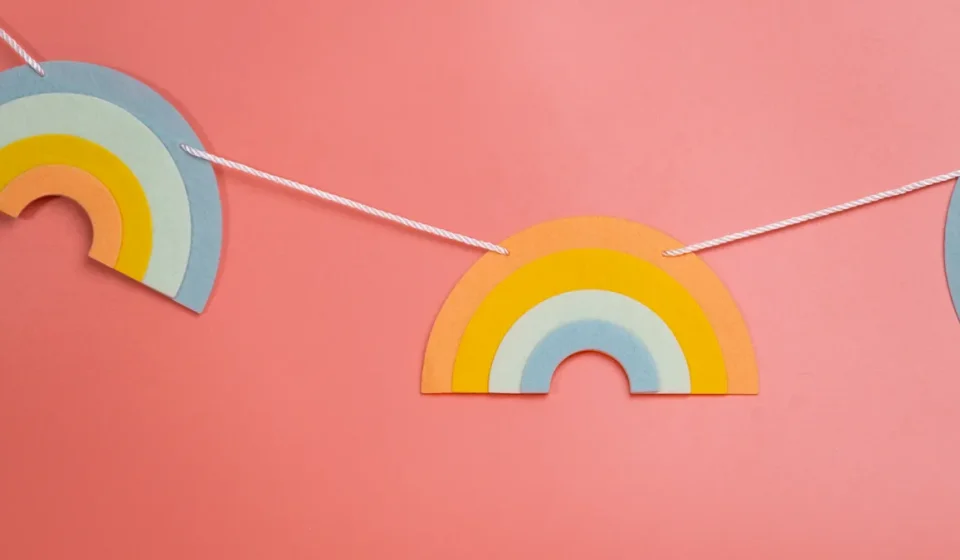
One strong approach is to pick a single motif and repeat it cleanly. Circles feel classic and low-effort. Triangles read as bunting and feel sharp and festive. Hearts work for Valentine’s Day or an anniversary. Leaves fit seasonal decor, especially in fall. Snowflakes bring winter without turning the room into a theme park. If the room already has strong colors, use white or kraft paper for calm contrast. If the space is plain, choose two or three bright colors and alternate them.
A garland also changes with scale. Small shapes—about 1 to 2 inches wide—create texture from a distance. Larger shapes, around 4 to 6 inches, read clearly across a room and make a party backdrop feel deliberate. A narrow doorway may only need a single strand, while a blank wall can handle three strands at staggered heights.
Therefore, a garland should match the object it hangs near rather than compete with it. A delicate strand over a bookshelf should not fight the books. A bold row above a cake table should look intentional from 6 to 8 feet away. Paper garlands are useful because they can be dressed up or scaled down without changing the core method. For more paper projects that build the same kind of decorating skill, the hub on paper craft ideas is the right next stop.
How do you make a paper garland?
You make a paper garland by cutting repeated shapes, punching or folding attachment points, and threading them onto string with even spacing. The whole process can stay simple: one sheet size, one shape, one thread line. For a standard strand, plan on 15 to 30 minutes for a short version and a little longer if the shapes are intricate.
- Choose one shape and one size. Circles, hearts, stars, and triangles are the easiest starts, and a 2-inch template keeps the line neat. A single shape makes the garland look cleaner than a mix of random pieces.
- Cut a stack of colored paper pieces. Use scissors for small batches or fold the paper accordion-style to cut several at once. Cardstock gives more structure than thin copy paper, but plain colored paper is easier to fold and layer.
- Mark where the string will pass. Use a hole punch for round holes or fold each shape over the string line if you want a no-hole style. A 1/4-inch hole near the top edge is enough for most lightweight strands.
- Lay out the sequence before threading. Arrange 10 to 20 pieces on a table so the color pattern is set before you touch the string. Alternating colors every second or third shape gives a clear rhythm.
- Thread the shapes onto string. Slide each piece onto twine, cotton string, or thin ribbon, then leave 1 to 3 inches between pieces for a light look. Tight spacing makes a denser banner effect.
- Secure the ends with tape, or use a safer fastening method if the garland will hang above people or over delicate surfaces. A small strip of tape can keep the first and last pieces from sliding off while you hang the garland, but for heavier strands or displays over busy areas, consult a professional installer or follow the manufacturer’s guidance for the wall-safe hardware you choose; a source such as 3M’s Command hook instructions is a good reference for removable mounting. If the strand will be reused, leave a little extra string at both ends for tying.
- Test the drape before hanging it high. Hold the strand between two points about 4 feet apart and check whether it dips too much or looks too stiff. A small sag is fine; a heavy curve means the pieces are too large or too close together.
The biggest advantage of this method is control. You can make a strand look airy with 3-inch gaps or full and festive with almost no spacing at all. The downside is time: if every piece is hand-cut and every hole is punched one by one, a long garland takes patience. For a cleaner result, use a paper cutter for straight shapes and keep the pattern simple.
What patterns make paper garlands look finished?
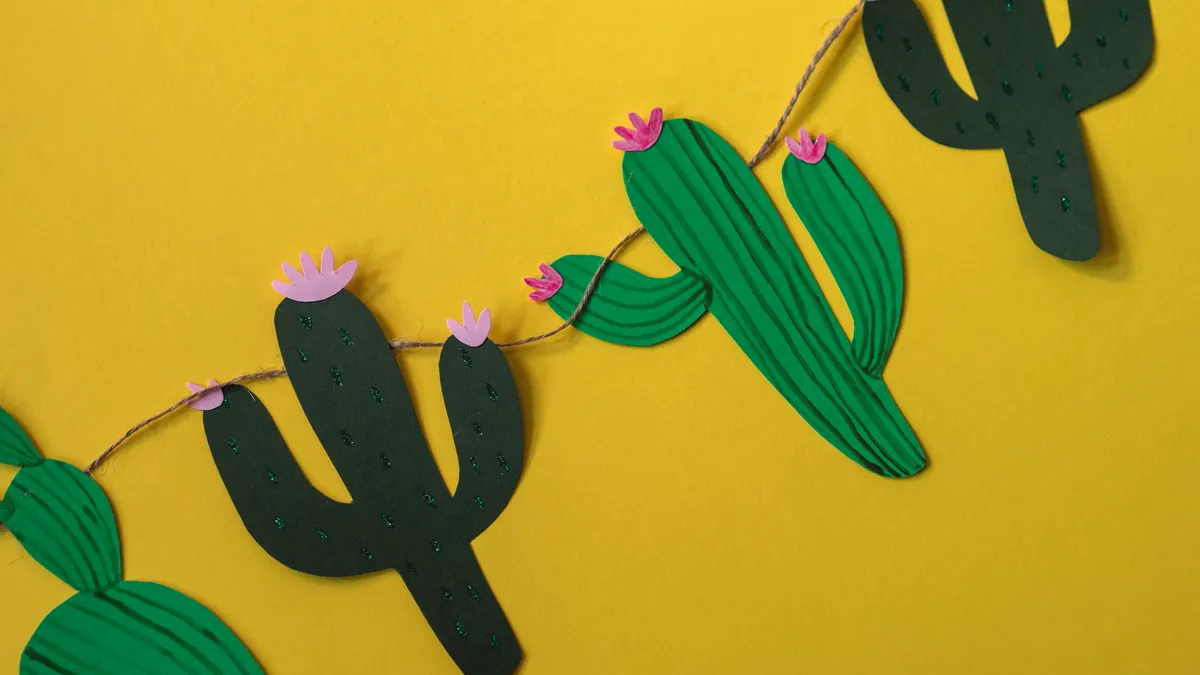
The best patterns are the ones that repeat at a predictable pace, because a garland reads from a distance and needs order to feel intentional. A random mix can work for kid-friendly decor, but most rooms look better with a pattern you can count in 3s, 4s, or 5s.
The easiest pattern is a single-color run. White circles on string look modern and calm. Another simple option is alternating two colors, such as red and pink or blue and yellow, which works well for parties where the room already has balloons or tableware in the same tones. A three-color cycle feels more layered; for example, cream, rust, and olive can suit seasonal decor without shouting for attention.
Shape patterns matter too. Repeating one shape across the whole strand gives a cleaner line, while alternating shapes creates movement. Try a 2-inch circle followed by a 2-inch star, then repeat that pair across a 9-foot length. That kind of structure works especially well above a mantel or along a stair rail because the eye can follow it easily.
There are also density patterns. Clustered groups of 3 to 5 pieces create a fuller section, then a gap of 4 to 6 inches opens the design back up. That method is useful for room decor because it keeps the strand from feeling crowded. It also helps when you want one garland to cover a long space without needing dozens more pieces.
The main drawback of complex patterns is assembly time. A carefully counted sequence looks better than a loose pile of pieces, but it takes longer to sort and thread. If the goal is fast party decor, keep the pattern simple and let the color do the work. If the goal is a room accent that stays up for a week or more, a more measured pattern pays off.
Which hanging decorations work best with string, tape, and a hole punch?
String works well for most paper garlands, tape is often the fastest support, and a hole punch gives clean attachment points. The right hanging method depends on where the garland goes, how long it is, and whether the wall or trim can be marked.
For a mantel, string is the easiest choice. Tie each end around a hook, knob, or removable adhesive point, then let the strand dip gently in the center. For a party table, tape the ends to the back of two chairs, the underside of a shelf, or the wall behind the table so the line stays visible but the support stays hidden. For a window, thread the strand across the top rail and secure the ends with small strips of tape.
A hole punch helps when the pieces are heavy or when the garland needs to be moved more than once. One clean hole near the top of each shape is faster than fiddling with glue. If the shapes are very thin, fold the top edge over the string instead of punching holes; that keeps fragile edges from tearing. For a layered look, use two strings and hang one slightly higher than the other, with at least 4 inches between them.
Tape deserves a careful mention because it solves more problems than it causes when used sparingly. Put small pieces behind the strand, not across the front, and press them onto a clean surface. Avoid relying on one large piece at each end if the garland is heavy; use two or three smaller pieces so the load spreads out. If the garland is going across painted walls, removable adhesive hooks are usually cleaner than heavy tape.
This is not the project for damp rooms or outdoor setups unless the display is temporary and sheltered. Regular colored paper softens, curls, and loses shape when humidity rises. For indoor parties and rooms, though, these hanging methods are enough for most needs.
Seasonal decor ideas that do not feel childish
Seasonal garlands work best when they borrow the mood of the season instead of copying a cartoon version of it. That means a fall strand does not need pumpkins every 2 inches, and a winter strand does not need glitter on every piece.
For fall, use rust, mustard, cream, and olive. Cut leaves, long pennants, or rounded teardrops and keep the spacing loose so the colors can breathe. A 10-foot strand across a fireplace or shelf can look rich without being dense. For winter, choose white, silver, pale blue, or deep green. Snowflakes and simple circles work better than overly ornate shapes, especially if the room already has holiday ornaments.
Spring favors soft color and lighter weight. Pastel circles or butterflies can brighten a room without taking over the wall. Summer can handle brighter contrast: coral, turquoise, and yellow work well in a kids’ birthday setup or a casual backyard table under cover. For any season, a monochrome version also works; a strand of all green leaves or all white stars can look more refined than a multicolor mix.
The best seasonal garlands are easy to remove and store. Keep each strand loosely wrapped around a cardboard tube or folded in a large envelope so the shapes do not crease too hard. If a garland will be reused next year, store it flat and away from moisture. That small bit of care matters more than the cost of the materials, since curled edges can ruin the look in seconds.
The limitation here is style control. Seasonal decor can slide into clutter if the shapes are too literal or the colors are too busy. A good rule is to use one season cue, not five. Leaves, color, and spacing usually tell the story well enough.
Common mistakes that make garlands sag or tangle
The most common garland mistake is making the strand too heavy for the support, and that creates a droop that looks messy within minutes. Heavy cardstock, oversized shapes, and short string spans all contribute to the problem. The fix is simple: reduce the size of the pieces, widen the spacing, or add a midpoint support if the run is longer than about 6 feet.
Another mistake is cutting every shape slightly differently. Uneven pieces make the line wobble, and the whole display looks handmade in the wrong way. A template solves that. Even a scrap of cardboard cut once and traced many times is better than eyeballing each piece. The same goes for hole placement: if the hole sits too low on one shape and too high on the next, the strand tilts.
Crowding is a third problem. If each piece touches the next, the garland can bunch into a thick rope instead of a decorative line. That works for some party backdrops, but it looks clumsy in a room with furniture and wall art. Give the strand 1 to 3 inches between pieces for a light look, or 4 to 6 inches for a more open style.
A final mistake is using the wrong paper for the job. Thin copy paper folds easily but can curl at the edges, while heavier cardstock holds shape but adds weight. For a 12-foot span, that weight matters. The right choice depends on whether the garland needs to last one evening or stay up for a week. If it’s only for a short event, lighter paper is often easier. If it must keep its shape in a warm room, a thicker sheet is worth the trade-off.
How do you hang paper garlands without damaging walls?
You hang paper garlands without damaging walls by using removable hooks, low-tack tape, or existing fixtures instead of permanent adhesive. That is the safest approach for painted drywall, rented spaces, and rooms that need a clean finish after the event.
The easiest method is a removable adhesive hook at each end, especially for a strand that crosses 4 to 8 feet. The hook carries the weight, and the string only needs to rest on it. If the garland is very light, small strips of low-tack tape can hold the ends directly to trim, a shelf back, or the underside of a mantel. Put the tape on the strand itself, not across the decorative faces, so removal stays clean.
If you do not want anything touching the wall, use furniture instead. Tie the strand to curtain rods, bed posts, shelf edges, or the backs of chairs. This works especially well for party decor, because the garland can frame the space without leaving a mark behind. Another option is to string it across a doorway or window frame where the trim can take the support.
There is one trade-off to accept: the gentler the mounting method, the more carefully the strand needs to be tensioned. Too much pull can pop tape loose, and too little makes the garland droop. A slight curve is normal. If the line needs to stay perfectly straight, add a second support point in the middle rather than stretching the ends harder.
For indoor decorating, that balance is usually enough. The goal is not a museum mount; it is a clean display that comes down without peeling paint or leaving residue.
How do you make a paper garland?
You make a paper garland by cutting repeated shapes from colored paper, attaching them to string with holes, folds, or tape, and spacing them evenly before hanging them. A simple strand can be finished in 15 to 30 minutes, depending on how many pieces you want. The cleanest look comes from one shape repeated across the whole line.
What paper is best for garlands?
Medium-weight cardstock is the most durable choice, while lighter colored paper is easier to cut and fold. Cardstock keeps its shape better for room decor and longer displays, but it is heavier. For small paper garland ideas, lighter paper is often enough; for longer paper garland ideas, cardstock is usually the safer bet.
How much does a paper garland cost?
A basic paper garland can be made for about $5 to $15 if you already have scissors, tape, and string, since the main cost is usually paper. If you buy specialty cardstock or pre-cut shapes, the total can go higher. For a larger paper garland project, the final price depends on size, paper weight, and whether you need extra hanging hardware.
Can you reuse a paper garland?
Yes, you can reuse a paper garland if it is stored flat or loosely wrapped and kept away from moisture. The best reuse candidates are cardstock strands with simple shapes, because they crease less and keep their paper garland form longer.
Drafted with AI; not yet reviewed by a person.