
Last updated: October 27, 2026
Quick answer: the best Paper Craft Ideas for Kids usually take 10 to 30 minutes, use construction paper, glue, safety scissors, and markers, and leave room for imperfect cuts without making the project feel too hard. Paper craft ideas for kids work best when the project is simple, uses a few familiar supplies, and leaves room for mess without turning the room into a disaster zone. The sweet spot is paper crafts for kids that use construction paper, glue, safety scissors, markers, and origami paper in small, manageable steps.
Key takeaways
- The easiest paper projects are built from folds, cuts, and glue, not long supply lists.
- Construction paper carries most kid-friendly projects because it is sturdy and cheap to handle.
- Safety scissors matter more than fancy materials when kids are still learning control.
- Paper folding teaches shape, patience, and following directions in short bursts.
- The best projects for school holidays are often the ones that finish in under 30 minutes and dry fast.
- Skip tiny details, hot tools, and anything that needs exact measuring if the child is young.
Paper Craft Ideas for Kids: the fastest projects to start with
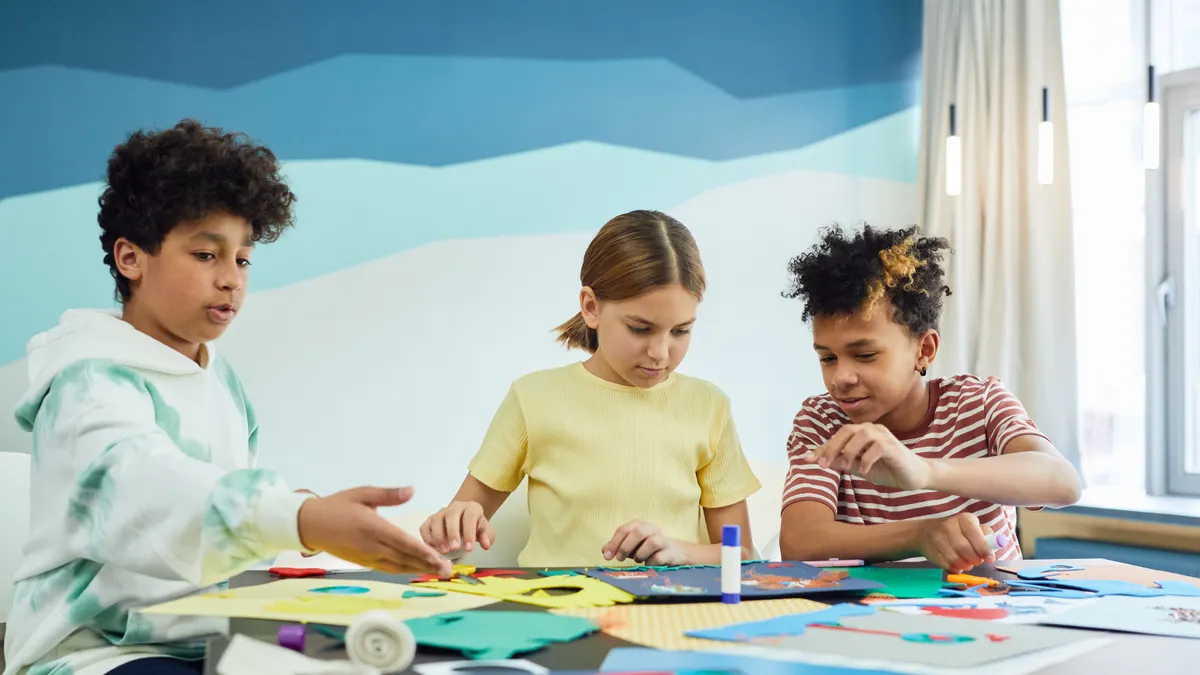
The fastest Paper Craft Ideas for Kids to start with are bookmarks, paper masks, animals from folded paper, and simple collages that use one sheet at a time. These projects need only 10 to 20 minutes of setup and a small table, which makes them ideal for rainy afternoons, classroom centers, or a holiday activity bin.
A generic article often throws in every paper project under the sun. That does not help a parent with one roll of tape, three markers, and a child who is done after eight minutes. What matters is choosing projects that match attention span and hand skill.
Three good starter options:
- Construction paper collages: tear or cut 2 to 5 colors into circles, strips, or triangles and glue them onto a background sheet.
- Paper strip animals: fold strips into loops, staple or glue them into bodies, then add ears, tails, and faces.
- Shape robots: use 4 or 5 simple shapes—squares, rectangles, circles, and triangles—to build a face or robot body.
The advantage of these projects is that they tolerate uneven cutting and crooked gluing. A tilted eye or lopsided wing looks handmade, not wrong. That matters for younger children who are still learning how scissors open and close.
The drawback is that these crafts are not very detailed. If a child wants a polished model or a highly realistic animal, paper and glue alone will feel limiting. For that reason, these ideas suit younger elementary ages better than older kids who want a challenge.
For a wider set of themes and seasonal ideas, the hub page on paper craft ideas can sit above this guide and point readers toward the right project type.
How do I set up paper crafts at home without a big mess?
A good home setup for paper crafts takes one tray, one cutting tool, and one glue container, then keeps everything else within arm’s reach. A 12 x 18 inch placemat or baking sheet gives a clean work zone and keeps scraps from wandering across the floor.
Use this basic setup before any project:
- Put down a flat surface, such as a kitchen table or low craft table, and cover it with newspaper or a washable mat.
- Place 4 to 6 sheets of construction paper in easy reach so the child can choose color without standing up.
- Set out safety scissors, a glue stick, and 2 or 3 markers or crayons rather than a full box.
- Keep a small scrap bowl on the table for offcuts, torn corners, and tape bits.
- Show the child the first cut or fold, then let them repeat it for the rest of the page.
- Finish by gathering scraps before the glue dries, which saves time and keeps pieces from sticking to sleeves.
This setup works because it lowers decision fatigue. A child does not need 15 supplies to make one good paper craft; too many choices often leads to wandering and abandoned projects.
One honest limitation is that very young children can still get frustrated by glue sticks that pull the paper if the layer is too thick. A thinner coat sticks better and dries faster. If the paper buckles, the surface was probably too wet.
For school holiday activities, this setup is especially useful because it can be reset in 5 minutes. That means a morning activity, an after-lunch activity, or a quiet classroom center can all use the same materials. The same setup also makes it easier to reuse the best Paper Craft Ideas for Kids without starting from scratch each time.
Which easy paper crafts work well for different ages?
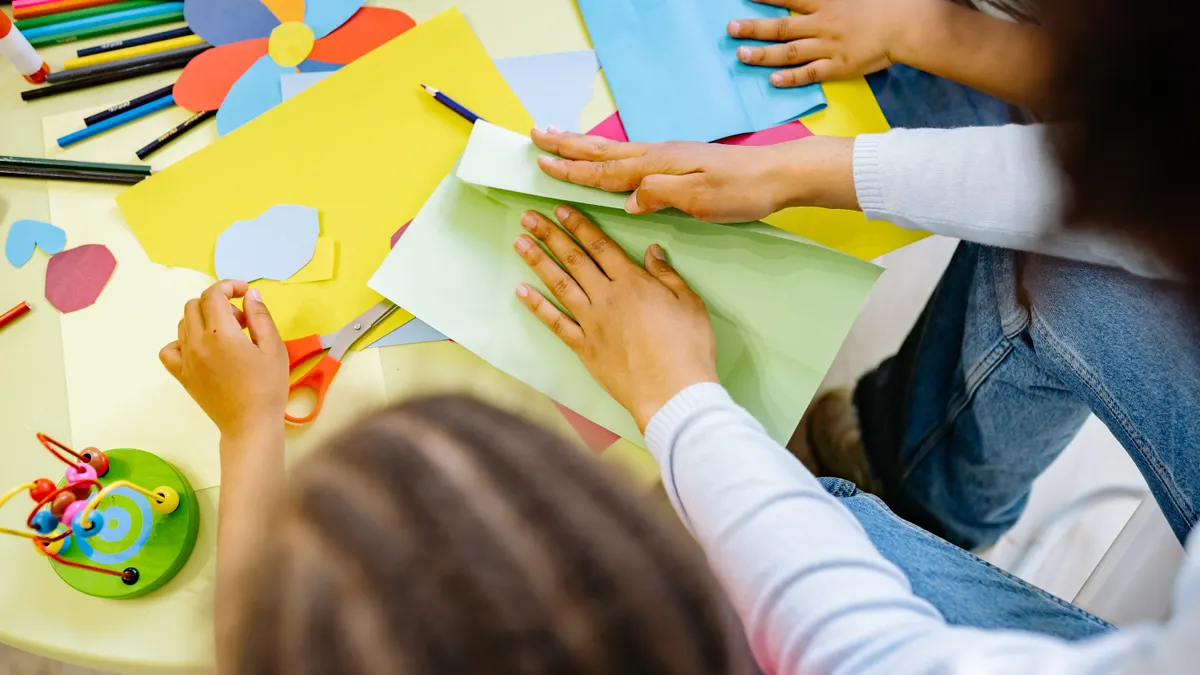
The best easy paper crafts depend on how much cutting, folding, and patience a child can handle in one sitting. For preschoolers, the winning format is usually tearing, gluing, and coloring. For early elementary kids, paper folding and simple cutting start to make sense. Older children often want a project with a pattern or a sequence they can follow on their own.
Here is a practical age-by-age split:
- Ages 3–4: paper collage, sticker scenes, handprint animals, large paper chain links
- Ages 5–6: paper hats, mask bases, simple cut-and-paste scenes, accordion-fold bugs
- Ages 7–9: paper fans, envelope puppets, bookmark corners, layered paper flowers with blunt cuts
- Ages 10 and up: more detailed paper cutting, modular paper forms, patterned greeting cards, folded animals with multiple steps
The common mistake is choosing a project that is too intricate for the child’s fine motor skill. That usually costs you the whole activity, because a child who cannot complete the first three steps will lose interest before the fun part arrives. If a project needs exact symmetry or tiny tabs, save it for later.
A better rule is to match the project to the child’s longest successful task, not to the child’s age alone. If a child can cut a straight 4-inch line and glue two pieces in the right place, the project should stop around that level of difficulty.
This is also where construction paper earns its place. It is thicker than copy paper, so it holds up to repeated folding and glue. Origami paper works better for neat folds and crisp edges, but it is less forgiving when the cut lands crooked or the glue goes on heavy. For more project ideas by age and skill, see the paper craft ideas hub and the related kids crafts guide.
Paper folding projects kids can finish in one sitting
Paper folding projects can be a good choice when you want a kid to finish something in 15 to 25 minutes and still feel proud of the result. Folding teaches sequence, shape, and hand control without requiring a long list of materials.
The simplest paper folding ideas for kids are paper airplanes, fans, hats, boats, and accordion-fold creatures. These use one sheet at a time and usually need only a ruler line or a pre-creased fold to stay on track.
A straightforward folding sequence for a paper fan looks like this:
- Start with one rectangular sheet of construction paper or origami paper.
- Fold the short edge up about 1 inch, then flip and fold the same width back the other way.
- Keep folding in a back-and-forth pattern until the full sheet becomes a pleated strip.
- Fold the strip in half and glue or tape the center so it opens like a fan.
- Add a handle, face, or decoration with markers if the child wants a finished look.
That type of project is useful because it gives a visible result very quickly. A child can see the shape take form after only a few folds, which helps a short attention span stay engaged.
The downside is that folding asks for more precision than tearing or gluing. A fold that starts crooked can throw off the whole piece. For younger children, it helps to make the first crease and let them finish the repeated folds.
I would not use folding as the first paper activity for a child who still struggles to line up edges. Start with a collage or paper chain instead, then move to folds once the hands are steadier. If you want more step-by-step examples, the paper folding ideas page is a useful next stop.
What are the best construction paper crafts for school holidays?
Construction paper crafts for school holidays are usually the most flexible when they are themed pieces that use the same base skills, so you can change the look without changing the whole setup. That makes it easy to turn one supply stack into Valentine hearts, spring flowers, autumn leaves, winter snowflakes, or classroom decorations.
Construction paper is a strong choice for holiday activities because it is available in bright colors and holds shape after cutting. It is also less delicate than thin origami paper, which matters when several kids are sharing the same pile.
Good holiday ideas include:
- Paper wreaths: cut circles and leaf shapes, then glue them around a ring base.
- Seasonal garlands: cut 2-inch shapes, punch holes, and link them with string or yarn.
- Holiday cards: fold one sheet in half and decorate the front with layered paper shapes.
- Paper snowflakes: fold, cut, and open for a quick winter display.
- Classroom banners: cut letter blocks or simple symbols and tape them across a wall or window.
The trade-off is storage. Big holiday pieces take more room than tiny paper crafts, and they can wrinkle if they are stacked before the glue dries. Plan for a drying corner or a flat tray if more than one child is working.
For school holidays, projects that can be adapted in 2 minutes are often the most practical. A heart becomes a balloon, a leaf becomes a fish, and a circle becomes a snowman face. That flexibility keeps the activity useful instead of feeling like a one-off craft kit. If you need themed supplies, the seasonal crafts page can help narrow the options.
Paper cutting ideas that stay safe and simple
Paper cutting ideas stay safe and simple when the cuts are large, the paper is light, and the shape does not depend on perfect symmetry. Safety scissors are the right tool here because they let kids practice control without the sharp edge of adult scissors.
Good cutting projects include:
- wide fringe along a strip of paper
- large circles and squares
- zigzags cut into the edge of a sheet
- window cutouts in folded paper
- paper puppets with big, obvious outlines
The core mistake is asking a child to cut tiny details first. Small curves and sharp inside corners are where paper tearing starts, and torn edges often turn a fun project into a frustration. If the child is still learning, keep the line bold and the shape big enough to cut in one pass.
A useful rule is to draw the line first. A marker line gives the child a target and keeps the cut from drifting. For younger kids, a thick black line is easier to follow than a pencil mark.
Paper cutting also pairs well with glue and markers. A cut shape does not have to stand alone; it can become scales, feathers, hair, or petals. That gives a simple cut purpose without asking for advanced skill.
Do not make paper cutting the whole project if the child gets tired after a few snips. A 5-minute cutting task can be enough to supply a larger collage or card. For more safe-tool tips, the kids safety crafts page is a good reference point.
What common mistakes ruin paper crafts for kids?
The most common mistakes are using paper that is too thin, giving too many steps at once, and choosing projects that depend on perfection. Those mistakes waste time and usually end with a child walking away before the craft is done.
Here is what tends to go wrong:
- Thin copy paper for everything: it curls, tears, and wrinkles too easily. Use construction paper when you need sturdier pieces.
- Too much glue: it causes sliding, buckling, and long drying times. A thin layer is enough for most small shapes.
- Tiny patterns or complex templates: they slow kids down and create more cleanup than reward.
- Starting with the final decoration: children do better when the structure comes first and the details come last.
- No scrap space: pieces pile up and get lost. A bowl or tray keeps the work area usable.
A better approach is to build every paper craft in three stages: cut or fold the base, add the main shape, then decorate with markers. That order keeps the project moving and gives the child an early win.
This is the part many generic craft lists miss. The craft itself is not the only decision; the sequence matters just as much. A project that looks simple on paper can still fail if it asks for too much precision before the child has made anything recognizable.
If the child is very young, choose something that is finished in one sitting and does not require drying overnight. Fast success matters more than a polished result. For related basics, the paper crafts for beginners page and the easy kids activities page are useful internal references.
FAQ
What paper crafts are safe for young children?
Paper crafts with large pieces, blunt scissors, and glue sticks are the safest fit for young children. Simple collages, torn-paper pictures, and big paper chains work well because they do not require sharp tools or tiny parts. Avoid staples, craft knives, and small decorations that can be swallowed.
What can kids make with paper at home?
Kids can make cards, masks, animals, puppets, bookmarks, paper chains, and seasonal decorations at home. The easiest versions use construction paper, markers, glue, and safety scissors, so there is no need for special equipment. A kitchen table and a scrap bowl are usually enough to get started.
What are easy paper crafts for beginners?
Easy paper crafts for beginners are projects with one fold, one cut, or one glue step at a time. Paper fans, collages, simple animals, and folded cards are good starting points. These projects build confidence fast because they show a finished result before the child gets tired or distracted.
Drafted with AI; not yet reviewed by a person.