
Last updated: October 21, 2026
Quick answer: you can make one easy paper flower in about 10 minutes with tissue paper, scissors, floral wire, and floral tape. For How to Make Easy Paper Flowers, start with one simple shape, one paper type, and one assembly method. If you want quick results, tissue paper flowers are usually the easiest to learn; if you want petals with more shape, crepe paper flowers hold up better and look more finished.
Key takeaways
- Tissue paper is the quickest choice for full, soft flowers.
- Crepe paper gives petals more stretch and shape, so it looks more realistic.
- Floral wire and floral tape make the stem look clean and keep the flower together.
- A simple circle, oval, or fringe petal template is enough for a beginner.
- The main mistake is making petals too large, too flat, or too uneven to layer well.
What you need before you start
You only need a few basic supplies: tissue paper or crepe paper, scissors, floral wire, floral tape, and a pencil or pen for tracing petal templates. A ruler helps if you want even strips, but it is not required. A glue stick or low-temp glue gun can help, though many simple flowers can be tied or taped without glue.
The easiest beginner setup is this:
- 6 to 10 sheets of tissue paper for one flower if you want a fluffy bloom.
- 1 sheet of crepe paper for each petal set if you want a more structured flower.
- 1 piece of floral wire for the stem, usually about 8 to 12 inches long for a hand-held flower.
- 1 strip of floral tape, torn or cut from the roll, to wrap the stem and anchor the center.
Choose tissue paper if you want speed and volume. Choose crepe paper if you want petals that curl, bend, and hold their shape. Skip stiff cardstock for your first attempt; it folds cleanly but does not mimic petals well and can look bulky in layered flowers.
If you want a paper flower bouquet later, start by practicing one flower first. A bouquet only works when the individual blooms look consistent, and that is much easier after you can make one flower in under 10 minutes. For more paper-based projects in the same family, the paper craft ideas hub is the natural place to branch out.
Which paper type makes the easiest flower?
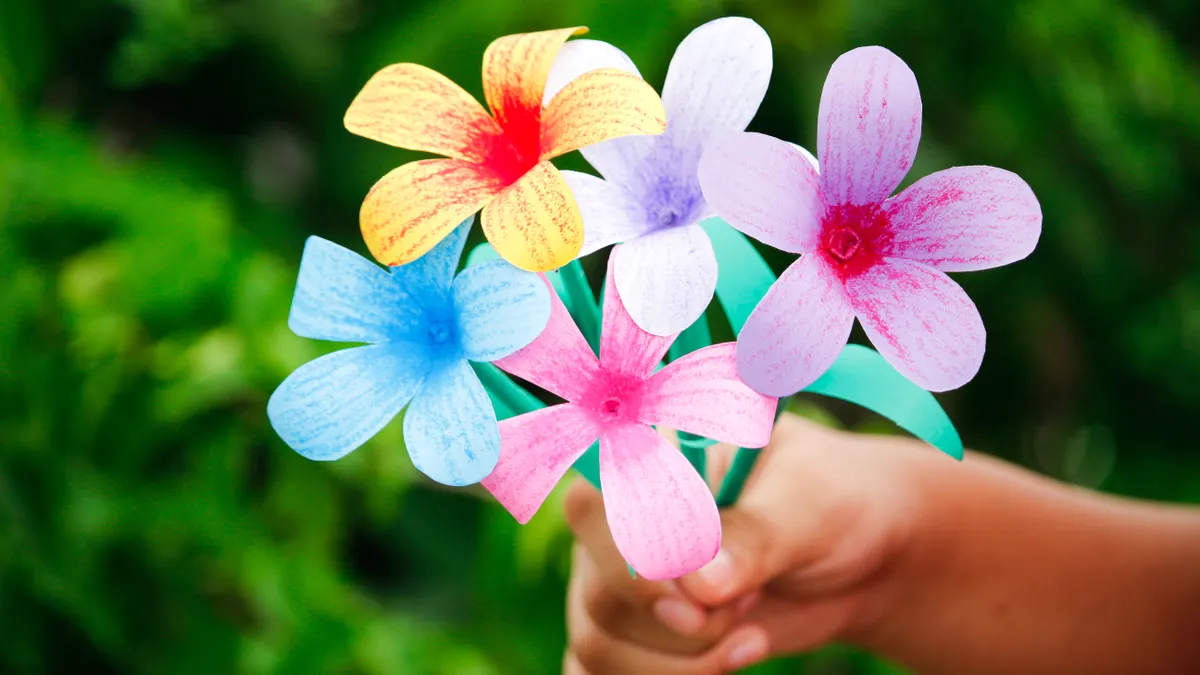
Tissue paper makes the easiest paper flower for a beginner because it folds fast, stacks well, and creates a full shape with very little cutting. Crepe paper is the better second step because it stretches, cups, and curls, which makes petals look more natural.
Tissue paper is best for:
- pom-pom style flowers
- carnation-like ruffles
- fast party décor
- flowers where volume matters more than realism
Crepe paper is best for:
- roses
- peonies
- ranunculus-style petals
- flowers that need curved edges and layered depth
The trade-off is clear. Tissue paper flowers are quick, but they can wrinkle easily and tear if you pull them hard while fluffing. Crepe paper takes a little more control, but it rewards careful shaping. If a beginner wants the simplest possible win, tissue paper is the right starting point. If the goal is a flower that looks better from arm’s length and close up, crepe paper is worth the extra minute.
Avoid thick wrapping paper for this job. It resists folding and makes the center look bulky. Avoid very thin napkin paper too, because it can collapse when you shape it. A middle-weight tissue or standard crepe paper gives the cleanest beginner result.
How to make easy paper flowers step by step
Start with 6 to 8 sheets of tissue paper or 4 to 6 crepe-paper petals, a 1-piece floral wire stem, scissors, and floral tape. The easiest assembly method is a folded, layered center that you fan out at the end.
- Cut your paper to a workable size. For tissue paper, stack 6 to 10 sheets and trim them into a rectangle about 8 by 10 inches or 6 by 9 inches for a smaller bloom. For crepe paper, cut petals about 2 to 3 inches wide and 4 to 6 inches tall. When this works, the pieces look even enough to stack without one side sticking out awkwardly.
- Shape the petals or layers. Round the corners for a soft flower, or cut pointed tops for a sharper look. For a fringe center, make short 1/4-inch cuts along one long edge, stopping before the base. When this works, the stack resembles a simple petal set instead of a plain rectangle.
- Place the wire at the base. Set the floral wire along one short edge of the tissue stack or behind the bottom of the crepe petals. Leave enough wire below the flower for a stem, usually 4 to 6 inches at minimum. When this works, the paper stays centered on the wire and does not slide out when lifted.
- Secure the base tightly. Wrap floral tape around the paper and wire base several turns. Pull the tape slightly as you go so it sticks to itself. If the stem will be handled often, consult a florist or floral-design professional about the safest wrapping method for your materials, and see the floral-care guidance from the American Academy of Floral Professionals. When this works, the flower holds together when you gently shake it and the center does not wobble.
- Fan out the layers one at a time. For tissue paper, pull each sheet upward toward the center. For crepe paper, curl each petal outward with your fingers or a pencil. When this works, the flower gets fuller instead of staying flat like a folded packet.
- Adjust the shape before trimming the stem. Pinch the center, open the petals, and even out any folds that look too stiff. Trim the wire stem to the length you want only after the bloom looks balanced. When this works, the flower reads as one finished piece instead of a bundle of paper strips.
This method is the easiest because it uses one stem, one center, and one wrapping motion. It is also forgiving. If one petal tears, the next layer hides it. If the flower looks too tight, you can open it more with your fingers. If it looks too loose, compress the base and rewrap the tape. For a broader craft overview, the paper craft ideas hub can help you branch into other folded paper projects.
How do you make tissue paper flowers?
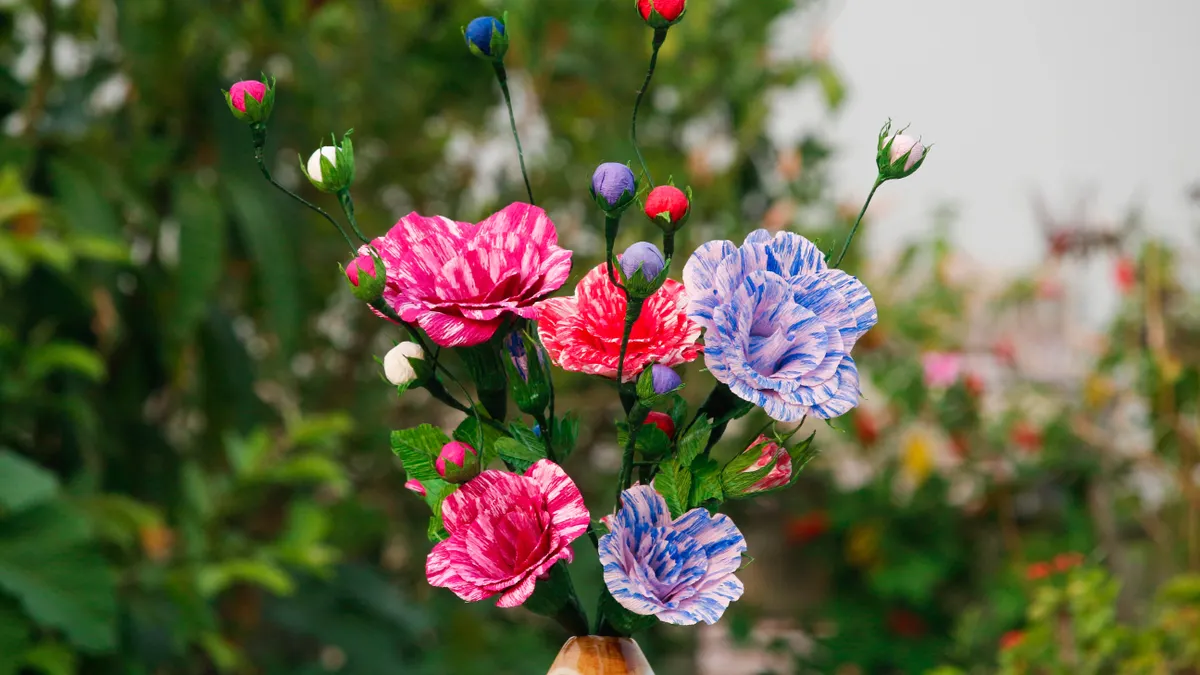
Tissue paper flowers are made by stacking, folding, tying, and fluffing 6 to 10 sheets of tissue paper into a round bloom. This version is usually the quickest to learn, and it works well for beginners because the paper does most of the visual work.
The simplest version is a fan-style flower:
- Stack several sheets of tissue paper.
- Fold the stack accordion-style with 1-inch folds.
- Tie the middle with floral wire or string.
- Round the ends with scissors if you want a softer edge.
- Pull each layer toward the center.
When done right, the flower looks full and airy, with a round silhouette and no flat side showing. The folds create texture, and the paper opens like a ruffled ball.
A useful trick is to cut the edges before you unfold. Rounded edges make a peony or pom-pom look. Pointed edges make the flower read more like a chrysanthemum. That one cut changes the mood of the flower without changing the method.
Tissue paper has one real drawback: it tears easily if you yank the sheets straight up. Lift the layers slowly and from the outer edges toward the middle. If a layer rips, leave it. A little unevenness often disappears once all the layers are fluffed. If you need a centerpiece flower that will sit in a vase, tissue paper is the easiest route by far.
How do you make crepe paper flowers?
Crepe paper flowers are made by cutting petal shapes from crepe paper, shaping them slightly, then wrapping them around a wired center with floral tape. This method takes a few more minutes than tissue paper, but it produces a cleaner, more realistic flower.
For a simple flower:
- cut 5 to 8 petals from crepe paper
- stretch the middle of each petal gently with your thumbs
- curl the top edge over a pencil or skewer
- attach a small rolled paper or folded center to the wire
- wrap each petal around the center one by one
Crepe paper works because it stretches across the grain. That means you can cup the petal and make the middle dip slightly while the edges stay lifted. A 2-inch-wide petal can become much more convincing with only a little shaping. If the petals all look identical and flat, the flower will read as paper. If they curve differently, the flower starts to look handmade in a good way.
A beginner should not try to make every petal perfect. Real flowers are uneven, and slight differences help the result. One petal can sit a little higher than the next. One can be narrower. That variation makes the flower look natural instead of stamped out.
The main limit of crepe paper is time. It asks for more cutting and more shaping, and it is less forgiving if you cut the petals too small. If you want a quick decoration for a party table, tissue paper is easier. If you want a flower that looks better in a bouquet or on a wrapped gift, crepe paper is the better choice.
How to build a paper flower bouquet without making it messy
A paper flower bouquet stays tidy when the stems are matched, wrapped, and grouped before you tie the final bundle. The bouquet stage is where many beginners lose control, because one good flower is easy and five uneven stems become clutter.
Start by making each flower with a stem that is roughly the same length, usually 8 to 12 inches. Then wrap each stem with floral tape so the paper edges are sealed down and do not snag on the next flower. Hold the tallest bloom in the middle and place shorter flowers around it. This creates a natural dome shape.
A simple bouquet layout looks like this:
- 1 main flower in the center
- 2 or 3 medium flowers around it
- 2 smaller filler flowers on the outside
Use floral tape to join the stems where they cross. Wrap from the top of the crossing point down toward the bottom in a spiraling motion. When the bouquet works, the stems feel like one unit and do not slip apart when you turn it. If the bouquet leans, adjust the wire before you add another layer of tape.
Do not overstuff the bouquet. Paper flowers need air between blooms so each one can be seen. Too many flowers in one tight cluster can turn into a flat mass instead of a bouquet. The best part of a paper flower bouquet is that you can arrange the blooms with more control than fresh stems, but they still need breathing room.
Common mistakes that make beginner paper flowers look flat
Most beginner paper flowers look flat because the petals are too uniform, the center is too tight, or the stem is not secured well enough. Those mistakes are easy to fix once you know what they cost.
The first mistake is cutting petals all the same size and leaving them completely flat. The cost is a flower that looks like a paper cutout instead of a bloom. Fix it by curling the outer edges or pinching the base so each layer sits at a slightly different angle.
The second mistake is using too little tape at the base. The cost is a flower that opens in your hand while you fluff it. Fix it by wrapping the stem base several times until the paper cannot slide. If the flower will be handled often, consult a florist or floral-design professional about the safest way to secure the base, and see the handling guidance from the Teleflora flower care guide.
The third mistake is choosing paper that is too stiff or too thin. Heavy cardstock makes the flower bulky. Very thin paper tears before the shape is set. Fix it by using tissue paper for simple volume or crepe paper for shape and stretch.
The fourth mistake is making the flower too large on the first try. A giant bloom can look impressive, but it is hard to balance and easy to flatten. Start with a 6- to 8-inch-wide finished flower, then scale up once the folding and shaping feel natural.
A good beginner flower should survive being moved from the table to a shelf without falling apart. If it cannot do that, the base needs more tape or the layers need more compression at the center.
What paper is best for paper flowers?
Tissue paper is best for the easiest paper flowers, and crepe paper is best for flowers that need more shape and realism. Tissue paper gives you volume fast, while crepe paper gives you stronger petals and better control over the final form.
If the goal is a quick party decoration, tissue paper wins. If the goal is a flower that sits nicely in a vase or paper flower bouquet, crepe paper is better. Floral wire and floral tape matter almost as much as the paper, because the stem and base determine whether the flower holds together.
A beginner should avoid very expensive specialty paper at first. The first few flowers are for learning the fold, the wrap, and the fluffing motion. Once that is comfortable, a nicer paper can improve the final look. Until then, simple tissue and standard crepe paper are enough to make something attractive.
For the cleanest result, keep your tools simple: scissors, floral wire, floral tape, and one kind of paper. That limit actually helps. Fewer choices make the folds more consistent, and consistency is what turns a bunch of paper into a flower.
How do you make paper flowers look realistic?
Paper flowers look more realistic when the petals vary slightly in size, the edges are curved, and the center is tucked deeper than the outer layers. Real flowers are not symmetrical in every petal, so a small amount of unevenness helps.
Use crepe paper if you want a more natural look, because it can be stretched and cupped. Pull one petal slightly farther than the next. Tilt a few outward. Keep the stem wrapped neatly with floral tape so the base does not distract from the bloom. A flower with soft variation usually looks more believable than one with perfectly matched petals.
How do you attach paper flowers to stems?
Paper flowers attach to stems by wrapping the base around floral wire and securing it with floral tape. The first wrap should hold the center firmly, and the rest should spiral down the wire so the stem looks clean.
If the flower is small, a dab of glue at the base can help before taping. If the flower is larger, use a longer wire and more tape so the weight is balanced. The connection should feel stable enough that the bloom does not twist when you turn the stem in your hand.
Paper flower comparison and quick specs
| Option | Best for | Approx. time | Material cost | Look |
|---|---|---|---|---|
| Tissue paper flower | Fast beginner projects | About 10 minutes | Low | Full and soft |
| Crepe paper flower | More realistic petals | 15 to 20 minutes | Low to moderate | Shaped and layered |
| Bouquet of 3 flowers | Table décor or gifts | 30 to 45 minutes | Low to moderate | Structured and tidy |
FAQ
How many sheets do you need for one easy paper flower?
You usually need 6 to 10 sheets of tissue paper for one fluffy flower, or 4 to 6 crepe-paper petals for a smaller structured bloom.
Can you make paper flowers without glue?
Yes. You can make paper flowers with floral wire, floral tape, and careful folding, though a small dab of glue can help on larger flowers.
What is the easiest paper flower for a beginner?
A tissue paper flower is usually the easiest because it folds quickly and opens into a full shape with very little shaping.
How long does it take to make one paper flower?
A simple paper flower usually takes about 10 minutes, and a more shaped crepe paper flower can take 15 to 20 minutes.
Drafted with AI; not yet reviewed by a person.