
Last updated: October 21, 2026
Quick answer: Easter Paper Crafts for Kids and Home Decor can be made with a small supply set, and most easy projects take about 10 to 20 minutes each. Pastel paper, markers, glue, scissors, and a few pom-poms are enough for bunny crafts, egg decorations, treat bags, and paper baskets that look cheerful on a table, shelf, or windowsill.
Key takeaways for making Easter paper crafts work
- Start with 2 or 3 colors, not a full rainbow, so the finished pieces look intentional.
- Use heavier paper for baskets and signs; use lighter paper for garlands, cutouts, and layers.
- Keep one adult step in the mix for cutting thicker cardstock or shaping anything that needs a sharp fold.
- Save pom-poms, scraps, and ribbon for the last 10 minutes; they turn plain paper into Easter decor quickly.
- Pick projects by purpose: gifts should be sturdy, home decor should be neat at a distance, and kid activities should forgive uneven cutting.
What you need on the table before you start
You need only a small set of supplies to cover most Easter paper crafts. Plain printer paper works for simple cutouts, but 65–80 lb cardstock gives better shape for baskets, garlands, and standing decor. Pastel paper is the easiest place to begin because it already matches the season: pale pink, mint, butter yellow, sky blue, and lavender all read as Easter without much effort.
Set out scissors, glue sticks, markers, and a pencil for tracing. Add pom-poms for bunny tails, cotton swabs for tiny details, and string or tape if you want to hang a garland. A hole punch can help with tags and treat bags, depending on the project and who is using the tools. If a project needs folds to hold, a ruler makes the creases cleaner, especially on baskets and folded place cards.
The best part is that one kit can cover several outcomes, although results vary by paper weight and how the pieces are finished. A single stack of pastel paper can become wall decor, basket handles, egg shapes, or small gift holders. That matters because the most common mistake is buying project-specific materials for every idea. A reader who wants paper Easter decorations usually needs flexible supplies, not a closet full of one-use extras.
I would skip glitter glue for the first round unless there is patience for drying time. It looks festive, but it slows everything down and can smudge on folded pieces. Matte markers, a glue stick, and cardstock usually make a cleaner result with less mess on a kitchen table.
How do you make Easter paper crafts that actually hold together?
You make Easter paper crafts that hold together by choosing the right paper weight, reinforcing folds, and building in a simple order: base first, details second, texture last. That approach keeps bunny ears upright, paper baskets from sagging, and egg decorations from curling at the edges.
A good all-purpose method is easy to repeat across many projects:
- Pick one base shape on cardstock, such as an egg, bunny body, basket panel, or tag, and trace it twice if the project needs a front and back.
- Cut the main pieces first with scissors, then trim small details like ears, grass, or scalloped edges so the shape stays clean.
- Fold along the lines before adding glue, because a scored crease stays neater than trying to bend decorated paper later.
- Assemble the largest parts with a glue stick, pressing for about 10 seconds so the pieces stop sliding.
- Add markers, pom-poms, and cut-paper details last, after the structure is set.
- Let anything layered sit flat for a few minutes before hanging or filling it.
That order matters more than perfection. A bunny with slightly uneven ears still looks cute if the outline is crisp and the pom-pom tail is centered. A basket with a reinforced handle feels like an object instead of a paper shape that collapses the moment candy goes inside. If a piece is meant to stand on a mantel or in a centerpiece, double the base or use a folded support strip behind it.
For durability, avoid using thin printer paper for anything that needs volume. Thin paper works for window clings, garlands, and coloring pages, but it bends under its own weight when folded into containers. Cardstock between 65 and 80 lb is the safer choice for baskets and standing decorations.
If a project is for younger children, simplify the assembly rather than the design. Pre-cut 2 or 3 shapes, then let the child choose colors and decorate the face, belly, or shell. That keeps the craft fun without turning it into a cutting exercise that derails the whole afternoon.
Bunny crafts that work for kids and for the mantel
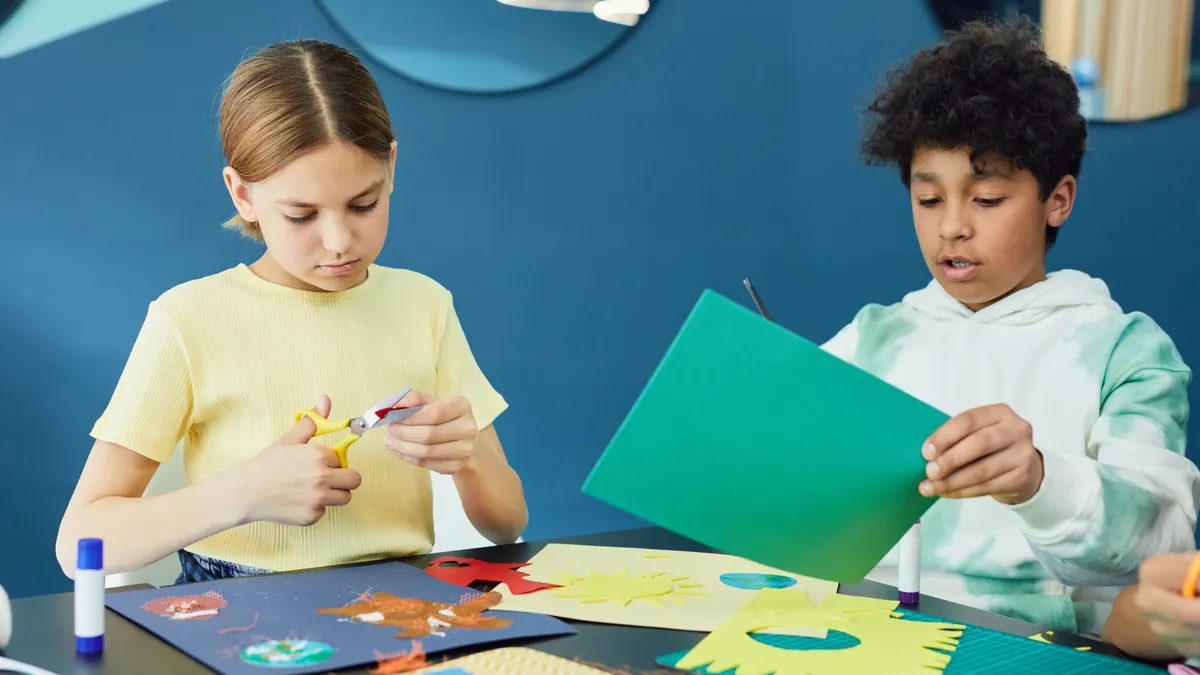
Bunny crafts work best when they are simple enough for a child to finish in 15 to 20 minutes and neat enough to sit on a shelf or tray. The trick is to make one strong silhouette and one clear focal point, usually the face or tail.
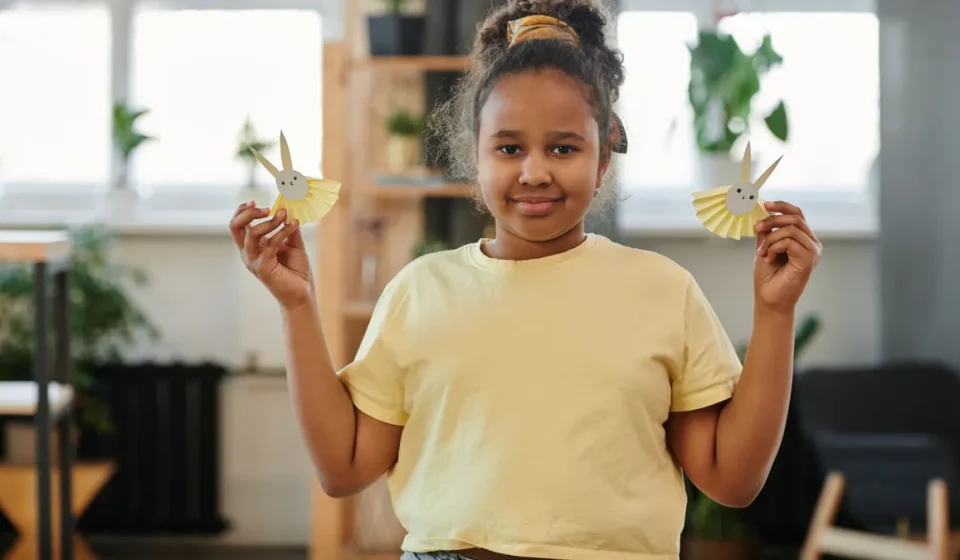
A classic paper bunny uses 3 pieces: an oval body, two long ears, and a small pom-pom tail. Cut the body from pastel cardstock, then add a lighter belly shape if you want more contrast. Draw the face with markers instead of cutting tiny features from paper; marker details are faster and usually cleaner. If you want a more decorative look, add whiskers with thin strips of black paper or even a fine-tip marker.
For home decor, make the bunny bigger than you think. A 6- to 8-inch-tall bunny shows up well on a shelf or entry table. Smaller versions are better for gift tags or place settings. One useful variation is a standing bunny cutout: fold a 1-inch strip at the bottom so the figure can stand on its own. That gives the craft more presence without needing a frame or stand.
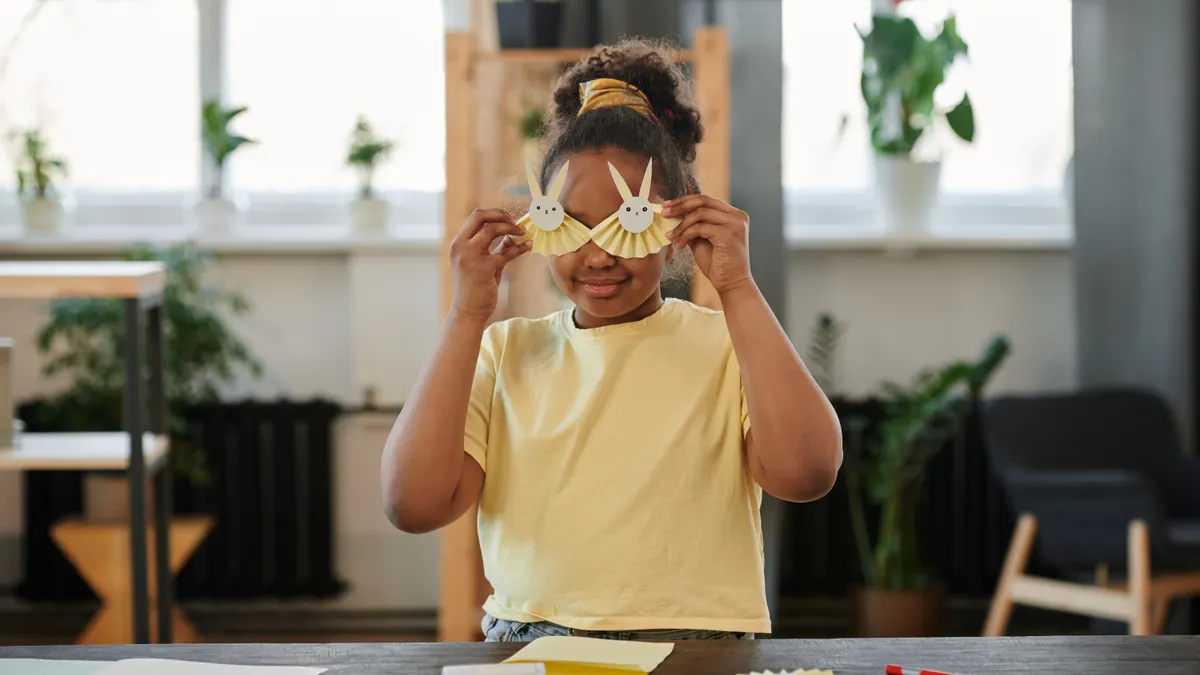
For kids, try a bunny face mask from paper plate-sized circles or large cardstock ovals. Cut eye holes only if the child is old enough to handle them safely, and keep the rest of the design simple: pink ears, a pom-pom nose, and a drawn smile. The craft becomes a toy after it is finished, which makes it more likely to get used instead of tossed aside.
The main drawback of bunny crafts is repetition. If every bunny uses the same ear shape and the same pink nose, the table starts to look flat. Change one feature per bunny: one with floppy ears, one with a bow tie, one with a checkered belly, one with a tiny paper flower. That little variation makes a cluster look designed rather than copied.
Easter paper egg decorations that look finished, not flimsy
Easter paper egg decorations look finished when you treat the egg as a canvas, not just a cutout. A plain egg shape is useful, but a layered or patterned egg gives the piece enough detail to stand out on a wall, garland, or gift bag.
Start with a paper egg template about 4 to 5 inches tall for hanging decor and 2 to 3 inches tall for tags. Cut several eggs in different pastel colors, then decorate them with one of three methods: stripes, dots, or collage. Stripes can be made with 1/4-inch paper strips; dots can be punched from scrap paper with a standard hole punch; collage works well with torn edges for a softer, handmade look.
If the goal is Easter decor, hang 5 to 7 eggs from string at slightly different heights across a window, mantel, or mirror. Uneven spacing often looks better than rigid symmetry because the shapes read as light and playful. For a table centerpiece, glue the eggs to skewers or thin paper stems and place them in a jar with tissue paper at the base. That gives the arrangement height without needing fresh flowers or special holders.
This is where markers earn their place. A black fineliner can outline egg shapes cleanly, while thicker markers help fill in simple patterns. If a child is doing the decorating, limit the palette to 3 colors so the egg still reads as one object. Too many colors can make a small paper egg look noisy.
A common mistake is using tape where glue should go. Tape tabs often show through on light paper, especially around curved edges. Glue stick or double-sided tape makes a cleaner edge. Another mistake is decorating before trimming the egg shape. Cut the outline first, then add pattern, because a clean edge makes even basic dots and stripes look deliberate.
Paper basket ideas for treats, tags, and small gifts
Paper basket ideas are most useful when the basket is sized for a real purpose, such as one wrapped chocolate bunny, a few eggs, or a handful of wrapped treats. The best paper baskets are small, sturdy, and easy to carry by a child without flattening.
A simple basket can be built from a rectangle of cardstock about 8 by 11 inches. Score the paper into 4 equal strips lengthwise, cut slits into the bottom third if you want a woven look, then fold the sides upward and glue the corners. Add a 1-inch-wide handle strip across the top. If weaving feels too fussy, use a plain box-style basket instead: cut, fold, and glue the sides into a shallow tray with a handle.
For kids, pre-cut the base and let them choose the handle color and the fill. Pom-poms make excellent “eggs” for pretend baskets, and they are lighter than candy if the basket is meant only for display. A paper basket also works well as a favor holder for class parties, church events, or a family brunch table because it can be personalized with a name tag.
For home decor, make a larger basket from thicker cardstock and use it as a centerpiece. Line it with crinkle paper, tissue paper, or shredded pastel paper. Fill it with paper carrots, folded eggs, or a cluster of paper bunnies. The basket itself becomes part of the decor instead of just a container.
The downside is strength. Paper baskets are not meant for heavy candy bags or wet items. If the handles start to bow, the paper is too thin or the basket is too large for the material. Use cardstock, keep the contents light, and treat the basket as a display piece first. That honesty saves disappointment and keeps the craft looking neat.
Treat bag ideas that kids can decorate in 10 minutes
Treat bag ideas work best when the bag shape is simple and the decoration does the heavy lifting. A small paper bag, folded envelope, or kraft treat pouch can become Easter-themed with just ears, tails, and tags.
The fastest version uses a lunch-size paper bag or a small flat bag. Cut two bunny ears from pastel paper, glue them to the back of the bag, and add a pom-pom tail near the bottom. Draw the face on the front with markers. If the bag is for an older child or a party favor, add a scalloped paper collar around the top edge for a more finished look.
For a more polished version, make a folded treat envelope from a 6-by-9-inch piece of cardstock. Fold the bottom up by about 2 inches, glue the side seams, and punch a hole near the top for ribbon or twine. This style works well for small candies, stickers, or a note. It is also a good option when you want a gift that feels handmade without looking flimsy.
The biggest advantage of treat bags is speed. They fit into a short craft window and can be customized with names, initials, or tiny paper eggs. The trade-off is that they are less durable than baskets, so they are best for lightweight treats and a short display period. If you need something that will be handled all day, use cardstock or a premade bag as the base.
Spring paper decor for the rest of the house
Spring paper decor helps Easter crafts do double duty after the holiday weekend. The easiest pieces to repurpose are garlands, window hangings, table scatters, and folded place cards because they look seasonal without being tied to a single day.
A paper garland is one of the cleanest options. Cut 6 to 10 shapes from pastel paper, punch holes near the top, and thread them on string or baker’s twine. Eggs, bunnies, and simple scallops all work. Keep each shape around 4 inches tall so the garland reads from across a room. Hang it across a mantel, shelf, or doorway where it can move slightly and catch light.
For a table, make paper place cards by folding small 3-by-4-inch cards and writing names with a marker. Add a tiny egg cutout or a stamped shape on the front. That is enough detail for a brunch table without crowding the setting. If the table needs more color, scatter a few paper eggs around plates or place the cards beside napkins.
Paper wreaths are another good fit, but they take more time. A simple ring of folded paper loops can look full without complicated assembly. Use 12 to 15 loops in alternating pastel colors and glue them around a cardboard ring. It is a better project for an afternoon than a quick after-school activity.
The main limit of spring paper decor is moisture. Paper pieces do not belong near wet table settings, sinks, or outdoor rain. Keep them indoors or under cover, and they will stay crisp longer. If the goal is a decoration that survives the whole season, choose thicker cardstock and avoid fragile cutouts with tiny tabs.
For more seasonal project ideas beyond this page, the seasonal paper crafts hub is the best place to branch out without repeating the same Easter shapes.
What are easy easter paper crafts?
Easy Easter paper crafts are the ones built from one simple shape, basic tools, and a short assembly order. Think bunnies, eggs, treat bags, and small baskets made with pastel paper, markers, glue, scissors, and pom-poms. The easiest projects usually take 10 to 20 minutes and avoid tiny cuts, complicated folding, or pieces that need to dry overnight.
What can kids make for easter with paper?
Kids can make bunnies, decorated eggs, paper baskets, treat bags, garlands, and simple place cards with paper. The best choices are projects with large shapes and a clear end point, like a bunny face or a paper egg covered in stripes. Pre-cut pieces help younger children stay focused on decorating instead of struggling with scissors.
How do you make paper easter decorations?
Paper Easter decorations start with a base shape cut from cardstock or pastel paper, then get finished with markers, glue, and small accents like pom-poms or layered cutouts.
Drafted with AI; not yet reviewed by a person.