
Last updated: October 21, 2026
Halloween paper crafts are easiest to keep festive when I stick to clean shapes, bright orange paper, matte black paper, and a little restraint. The goal is decoration, not a haunted-house effect, so the pieces should read as playful from 6 feet away and still hold up close on a mantel, wall, or snack table. These Halloween paper crafts also work best when you plan them around a short supply list and a clear finish time.
The fastest way to keep Halloween paper crafts cheerful
The trick is to choose rounded silhouettes, familiar icons, and a two-color palette that feels seasonal instead of sinister. Black paper, orange paper, white paper, and a small pack of googly eyes will carry most projects, and glue plus scissors are enough for nearly everything on this page. If a design has jagged teeth, red accents, or heavy shadows, it tends to tip into spooky territory fast.
A good rule: if you can make the outline in under 10 cuts, it will usually look friendlier than a fussy version with tiny points and sharp angles. Pumpkins, bats, lanterns, garlands, and window cutouts work well because they already belong to Halloween, but they can stay lighthearted with rounded edges, smiling faces, and simple spacing. I also recommend keeping embellishments flat instead of bulky; paper crafts look cleaner on walls and windows when they stay under about 1/4 inch thick.
For more ideas, the seasonal paper crafts hub gives a wider menu of paper project ideas without turning this one into a costume or school-project roundup. For this topic, I would stay focused on decorations you can finish in 15 to 30 minutes and hang the same day.
What supplies make festive Halloween paper crafts easier?
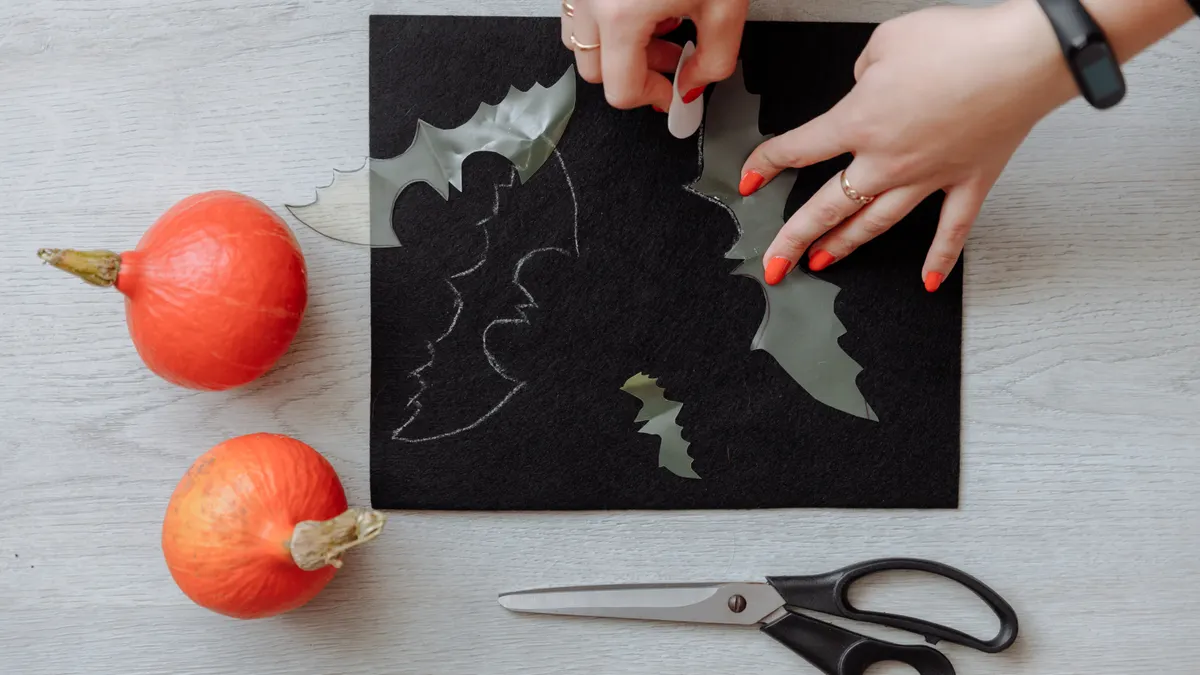
The right supplies make festive Halloween paper crafts faster, cleaner, and less fussy. I would start with black paper, orange paper, white paper, glue, scissors, a pencil, and googly eyes; after that, add string or tape for hanging and a ruler for straight folds. A 12-by-12-inch scrapbook sheet works well for many decorations, but standard 8.5-by-11-inch printer paper is enough for most shapes.
Here is the short list I would keep on the table:
- Black paper for bats, cat shapes, spider silhouettes, and window cutouts.
- Orange paper for pumpkins, jack-o’-lanterns without scary faces, and garlands.
- White paper for eyes, teeth, stars, moon shapes, and contrast.
- Googly eyes for friendly faces on pumpkins, ghosts, or bats.
- Glue sticks for flat layers and liquid glue only when a stronger bond matters.
- Scissors with a pointed tip for corners and small curve cuts.
The limitation is simple: very thin copy paper curls more easily, while heavy cardstock takes sharper cuts and holds shape better. If you want pieces to stand up on a table, choose cardstock around 65 lb to 80 lb. If you want window decorations, lighter paper is fine because it lies flatter against glass. That trade-off matters more than fancy embellishments.
One more practical point: avoid glitter glue on pieces you plan to tape to windows. It can catch light in a way that pushes the craft toward “spooky” rather than “festive,” especially with black paper underneath. For paper basics and safe adhesive use, Martha Stewart’s craft guides and CPSC battery-light safety guidance are useful starting points.
How do I make Halloween paper pumpkins that look friendly?
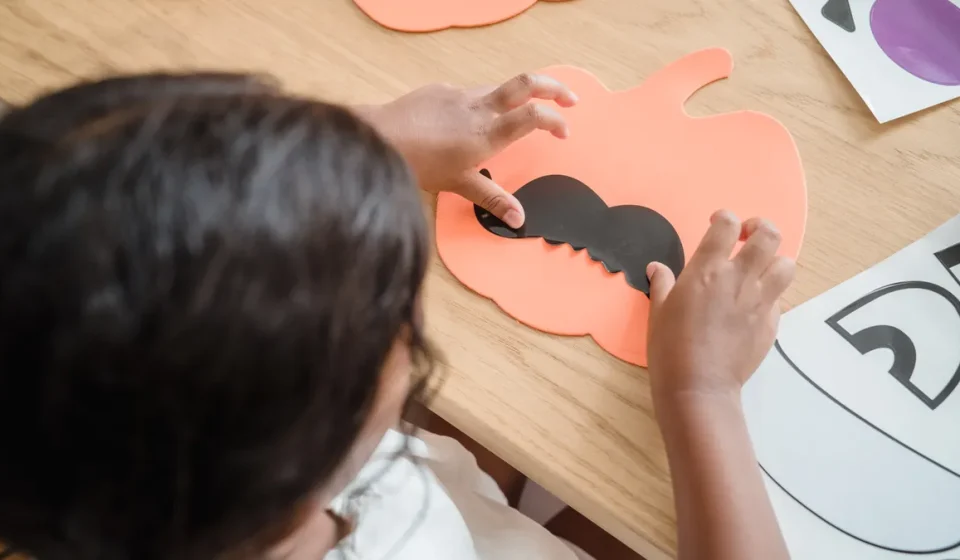
I make friendly Halloween paper pumpkins by keeping the shape round, the face simple, and the color story to orange, cream, and a little black. A pumpkin with curved edges and a smile reads as decor; a pumpkin with narrow eyes and sharp teeth reads as a prop from a haunted house.
Start with a 6-inch circle or an oval from orange paper, then add a stem in brown or black. If you want the paper pumpkin to look fuller, cut six to eight narrow strips about 1 inch wide and 6 to 8 inches long, loop them slightly, and glue the ends to a center circle so the pumpkin has dimension. This works especially well for mantel pieces and party tables.
Core pumpkin procedure
- Cut one orange circle or oval about 6 inches across to serve as the pumpkin body. The rounded shape keeps the design cheerful.
- Cut a small stem from brown or black paper, about 1 inch wide and 2 inches tall. Attach it to the top center so the pumpkin reads instantly.
- If you want a layered look, cut 6 to 8 orange strips, each about 1 inch by 6 inches. Curl each strip gently with your fingers and glue both ends toward the center.
- Add a face only if you want one: two small circles for eyes, or crescent shapes for a smile. Keep the features large enough to read from across the room.
- Let the glue set for 10 to 15 minutes before moving the pumpkin. That keeps the strips from sliding flat.
The simplest version is often the best fit for a family table: a single paper pumpkin with a smiling face and no extra cutouts. A more detailed version with layered strips looks stronger on a wall or doorway. I would avoid tiny triangle teeth, because they push the craft toward scary faster than almost any other detail. If you want multiple pumpkins, make them in 3 sizes and cluster them in odd numbers; that reads more natural than a straight row.
For a printable reference, National Pumpkin Day falls on October 26 and gives an easy seasonal anchor for pumpkin-themed displays. A simple pumpkin craft idea also helps if you want a quick layout before cutting.
Bat decorations without the haunted-house look
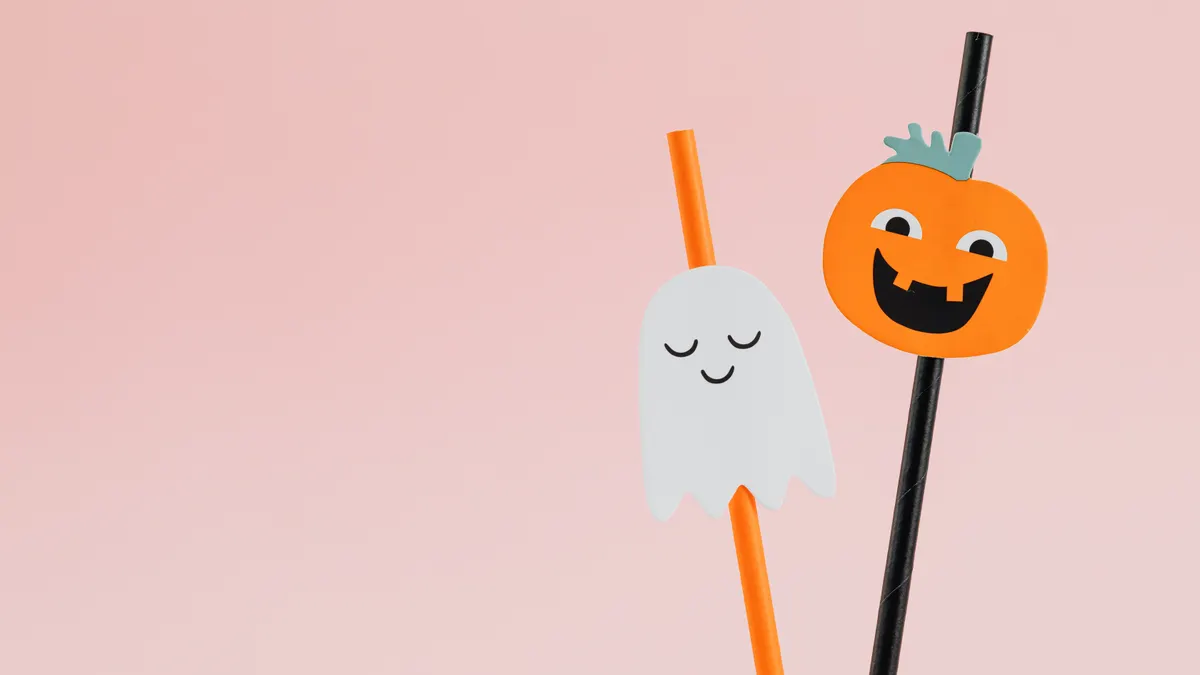
Bat decorations stay festive when the wings are rounded, the bodies are small, and the bats are used as a pattern instead of a threat. A bat with soft curves and two white googly eyes feels playful; a bat with sharp wing tips and a big mouth looks like a horror movie prop.
The easiest bat shape starts with a half-oval body and wings that arc rather than spike. I would cut bats in three sizes—about 3 inches, 5 inches, and 7 inches wide—then scatter them in a loose arc across a wall, shelf, or doorway. That variation makes the display feel intentional without requiring perfect symmetry.
For hanging, tape the back of each bat with two small pieces of removable tape and angle the wings slightly outward. If the wings lie flat and stiff, the silhouette can look harsh. Curved wings soften the whole display. If you want a more cheerful effect, add tiny white circles for eyes or a single small smile under the eyes; keep the face very simple so the design does not become cartoonish in a bad way.
A common mistake is using too many bats in a dense cluster. Five bats across a doorway usually feels festive. Fifteen bats packed into one corner can start looking like a scene rather than a decoration. I would also skip red paper accents here; black and white are enough. If you need a second color, orange works better and keeps the project in the same Halloween lane as the pumpkins. For a related wall idea, see DIY bat wall decor.
Paper lanterns and table decor that brighten a room
Paper lanterns brighten Halloween decorating because they give height, color, and glow without turning scary. A lantern in orange paper with black cutouts or a simple bat band works well on a side table, and it looks especially good next to candy bowls or paper pumpkins.
The cleanest version uses a rectangle of orange paper about 8.5 by 11 inches. Fold it lengthwise, make cuts from the folded side toward the open edge, and stop about 1 inch from the top and bottom so the lantern stays connected. Open it, roll it into a tube, and glue or tape the short edge. Add a 1-inch handle strip if you want to hang it. If you place a battery tea light inside, the paper glows softly; never use a real flame with paper.
For table decor, I like using lanterns with simple cutout windows rather than dense patterns. A few punched stars or moons can look festive and keep the surface from feeling crowded. If you want a quicker option, make flat paper luminaries instead: wrap orange paper around a jar or cup, then tape a black paper band around the middle. This is a lower-effort choice and works better if you only have 20 minutes.
The drawback of lanterns is storage. Folded paper lanterns can crease if they get tossed in a bin, so they are best for one season or for careful flat storage in a portfolio sleeve. If you want a safer table setup, battery tea lights are the better option than candles, and UL’s lighting guidance is worth checking before you use any powered decor.
Halloween paper crafts for windows and doors
Window decorations work best when the shapes are bold, simple, and readable from outside in daylight. Black paper silhouettes on glass create a strong Halloween effect without needing glitter, plastic props, or scary imagery. This is the place to use bats, pumpkins, moons, stars, and smiling ghosts.
I would cut the shapes at least 4 to 6 inches wide so they do not disappear from the street. A small pumpkin on a window looks neat indoors but can vanish outside. Tape the shapes at the corners with removable tape or use removable mounting dots, especially if the window gets bright morning sun. If the paper is too thin, it may curl at the edges; heavier paper or cardstock stays flatter.
Door decorations should be simpler than window decorations. A paper wreath made from orange loops, or a banner with alternating black and orange pennants, feels festive at a glance. For a front door, one oversized pumpkin or bat cutout often works better than a crowded cluster. The eye needs one clear message before it can enjoy the details.
I would not use paper window decorations near a drafty entry if the paper is very light. Movement can make the shapes flap, which looks messy instead of playful. If that is the setup, use cardstock or double-layer the pieces.
What mistakes make Halloween paper crafts look scary instead of festive?
The fastest way to make Halloween paper crafts look scary is to overdo the sharp points, dark shadows, and tiny facial details. If the mouth is jagged, the eyes are narrow, and the color palette is only black and red, the craft will read as horror instead of holiday. The fix is to simplify the face, widen the shapes, and keep the palette in orange, black, and white.
Three mistakes come up often:
- Too many tiny cuts. They make the piece look busy and fragile. Use larger curves and fewer interior cuts instead.
- Overcrowded layouts. A wall covered edge to edge in black shapes can feel heavy. Leave 2 to 4 inches of breathing room around each piece.
- Mixed styles. A realistic bat next to a cartoon pumpkin can look unplanned. Pick one style and repeat it.
The most useful standard here is consistency. If the pumpkins all use the same 2 colors and the bats all share the same wing shape, the whole room looks coordinated. If one piece has googly eyes and another has sharp paper fangs, the display loses its friendly tone. I would also avoid using too much black on a dark wall, because the craft will visually disappear before it decorates anything. For broader holiday safety context, the CPSC Halloween safety page is a solid reference.
Who this is not for: anyone trying to create a haunted-house effect. If the goal is eerie or dramatic, these softer shapes will feel too tame. That is not a flaw; it is the point of this page.
Which Halloween paper crafts work best for a party?
The best Halloween paper crafts for a party are the ones guests notice in under 5 seconds and can ignore once the food arrives. Paper garlands, napkin rings, cupcake toppers, hanging bats, and window silhouettes all do that job well because they decorate the room without taking over the table.
For a party setup, I would combine three pieces: a banner across a wall, a cluster of bats above the snack area, and 3 to 5 paper pumpkins on the table. That mix gives height, movement, and a clear seasonal theme. If you want place settings, cut small circles from orange paper and write names on them with a black marker; they double as simple tags and keep the table looking organized.
A banner is easiest to scale. Cut triangles about 4 inches wide from black and orange paper, punch two holes at the top, and thread them on ribbon or string. If you want a softer look, round the bottom edge of each pennant instead of making points. That small change makes the whole banner feel friendlier.
For favors, paper treat boxes are useful but take more time, so I would only choose them if you need individual packaging and can review the plan with a craft or event professional first. Flat decorations are better when the goal is speed. If you are making everything in one evening, stick to the pieces that can be cut in 15 minutes or less. For party-friendly layout ideas, Halloween party decor is a useful related page.
Key Takeaways
- Rounded shapes, orange-and-black color, and simple faces keep Halloween paper crafts festive.
- Black paper, orange paper, googly eyes, glue, and scissors cover most of the useful projects.
- Pumpkins, bats, lanterns, windows, and party banners work best when they stay bold and uncluttered.
- Sharper cuts, dense clusters, and red-heavy accents are the quickest route into scary territory.
- Flat, easy-to-read decorations usually look better than intricate ones on walls, windows, and tables.
What are easy halloween paper crafts?
Easy Halloween paper crafts are the ones built from basic shapes, like pumpkins, bats, banners, and window silhouettes. A 6-inch circle, a few strips of paper, and scissors can carry most of the design. If you keep the palette to black and orange, the result looks seasonal with very little cutting or assembly time. For beginner-friendly options, easy paper crafts is a helpful next stop.
What can i make with paper for halloween decorations?
Paper works well for pumpkins, bats, lanterns, garlands, window clings, and table decor. A banner or a few large silhouettes can fill a wall fast, while smaller pieces like place cards and cupcake toppers add detail to a party table. For the cleanest look, use cardstock for hanging items and lighter paper for flat window shapes.
Are there kid-friendly halloween paper crafts?
Yes, but the simplest choice is usually the safest one: large pumpkins, friendly bats, and paper chains with orange and black loops. Avoid tiny cuts and complicated layered pieces for younger children, because those need more precision with scissors and glue. Adult help is a good idea for any project that uses pointed scissors or battery lights.
Drafted with AI; not yet reviewed by a person.