Origami for Beginners: Simple Paper Folds to Start With

Last updated: October 27, 2026
Quick Answer: start with 1 square sheet, 1 simple model, and 10 to 15 minutes of practice. Origami for Beginners: Simple Paper Folds to Start With works best when you begin with a square sheet of paper, a few clean folds, and one goal: make the paper sit exactly where you want it to sit. The first models should teach control, not complexity, so I focus on folds that build the habit of lining up edges, sharpening creases, and finishing a shape that still looks like the diagram.
Key takeaways for your first origami folds
- Start with square paper, not notebook scraps, because the square shape keeps the folds symmetrical.
- Use a crisp crease every time; a dull fold causes the paper to drift and the model to open up.
- Learn a few basics first: valley fold, mountain fold, reverse fold, and squash fold.
- Begin with models that have 5 to 15 steps, such as a boat, crane base practice, or a simple jumping frog.
- A crease folder helps, but a fingernail or the edge of a ruler can work on heavier paper.
- If the paper tears or buckles, the model is usually too tight, too small, or folded with blunt pressure.
What origami is, and why beginners should start simple
Origami is the Japanese art of folding paper into a shape without cutting or gluing as the main method. For Origami for Beginners: Simple Paper Folds to Start With, the useful version is narrow: one square sheet, one model, and one clean fold at a time.
The best starting point is usually not a complex crane with tiny legs or a flower with dozens of petals. It is a model that teaches the mechanics of paper. A beginner needs to see how paper behaves when it is folded along a straight line, when a corner is brought to the center, and when a flap must be opened and pressed flat. Those skills matter more than the final shape.
A common mistake is choosing a model because it looks “easy” in the finished picture. Some models with a simple final shape hide tricky reverse folds, blind steps, or exact proportions. A model with 8 clear steps is often better than one with 4 steps that assumes you already know the basics.
I recommend thinking in this order:
- Learn the fold types.
- Practice them on plain square paper.
- Pick models with clear diagrams and few hidden moves.
- Repeat the same model 2 or 3 times before moving on.
That repetition is not wasted time. The second and third attempt usually expose where the first one relied on luck. A model that comes together cleanly three times in a row is a better beginner choice than one that works once and then collapses.
If you want a broader set of paper projects after this, the hub on paper craft ideas is the right next stop, but this page stays focused on origami itself. For more background, the Smithsonian’s origami resources and the Encyclopaedia Britannica entry on origami both explain the art form clearly.
What paper and tools do I need for origami?
You need a square sheet of paper, a flat surface, and something that can sharpen a crease. For most beginner models, that is enough.
The best paper for learning is often origami paper, which is usually thin, square, and easy to crease. Common beginner sizes are around 15 cm by 15 cm or 20 cm by 20 cm, though any square can work if the model matches the paper size. Thin paper folds more cleanly than thick cardstock because it stacks without springing back.
Square paper matters because origami diagrams assume it. If you start with rectangle paper, many steps still work, but the shape often ends up off center, and the final figure may not match the instructions. Cut a square from printer paper if you need to, but use a ruler and keep the sides even. A lopsided square makes the rest of the model harder than it should be.
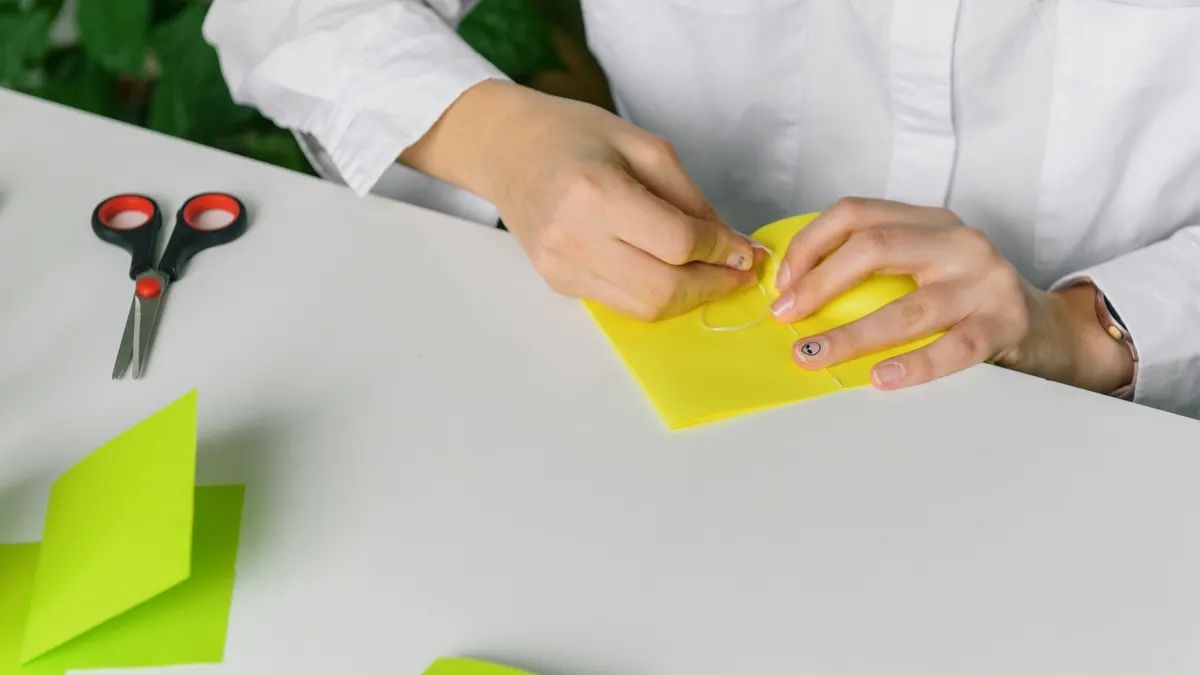
A crease folder is useful, especially when the paper is slightly heavy or the fold line is long. It gives a sharper edge than a fingertip alone. If you do not have one, use your fingernail, the back of a spoon, or the edge of a plastic card with light pressure. The goal is a firm crease, not a crushed one.
Here is the practical trade-off:
- Very thin paper folds easily but tears sooner.
- Thicker paper feels sturdy but resists crisp folds.
- Decorative paper looks nice but can hide fold lines and make reverses harder to see.
For the first few models, plain paper is better than patterned paper. Plain paper makes the crease pattern easier to read, and that matters more than appearance. Save specialty paper for models you already know how to fold. Origami paper from a hobby shop usually costs less than specialty cardstock, while larger sheets and packs vary by brand and size; for example, 15 cm and 20 cm sheets are the common beginner sizes.
Which folding basics should I learn first?
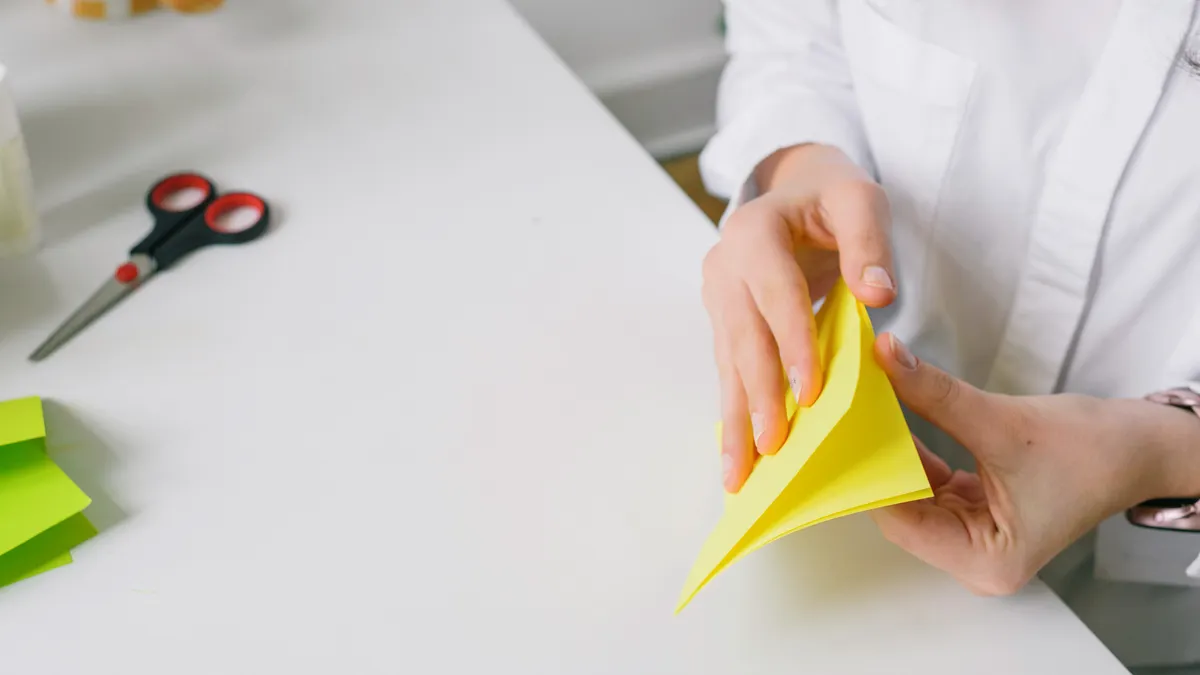
The first folding basics are valley fold, mountain fold, reverse fold, squash fold, and petal fold. Those five moves cover most beginner models, even when the model looks different on the page.
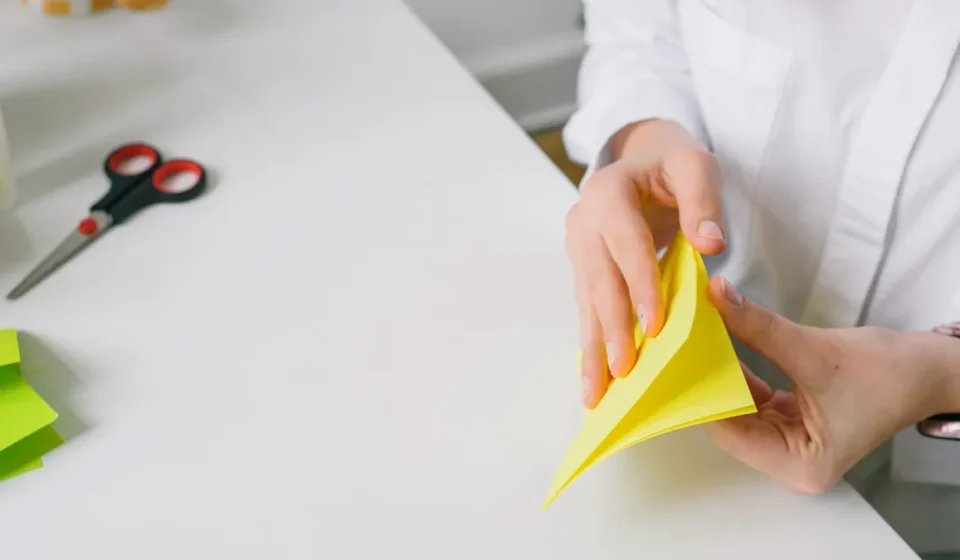
A valley fold bends the paper toward you, so the crease forms a low “V.” A mountain fold bends the paper away from you, making a raised ridge. If you can tell those two apart, you can already follow many diagrams. Reverse folds use both directions to tuck a tip inside or outside a shape. Squash folds open a flap and press it flat into a new shape. A petal fold narrows a section by bringing edges to the center and flattening the top.
These folds are worth practicing on scrap paper for 5 to 10 minutes before attempting a full model. That practice saves time later because you learn how far the paper can move before it wrinkles.
A simple way to practice is to fold a square in half horizontally, unfold it, then fold it vertically. You now have a cross of 2 center lines. Add the diagonals. That one exercise teaches alignment, symmetry, and crease strength. If the corners miss the lines by even a few millimeters, the final model will drift.
The main beginner error is pushing too hard too early. A hard crease made in the wrong place is difficult to correct, and a wrinkled sheet rarely recovers fully. Lightly position the paper first, check the alignment, then sharpen the fold once the edges match.
Another useful habit is to flatten from the center outward. That keeps air pockets from trapping inside flaps. When the paper balloons, the fold is usually not fully opened or the edges are not lined up.
If a diagram uses a symbol you do not know, do not guess blindly. Pause and identify the action first. Origami rewards accuracy more than speed. For a trusted symbol reference, the British Origami Society and Jo Nakashima’s diagram guides are useful starting points.
How do I make my first origami model step by step?
Make a simple origami boat first if you want a quick win in 10 to 15 minutes, because it teaches center folds, corner folds, and opening a shape without demanding advanced tricks.
Use a square sheet, ideally about 15 cm by 15 cm, and work on a flat table.
- Fold the square in half horizontally, then unfold it. You should see one straight center crease running left to right.
- Fold the top edge down to the center line, then press the crease firmly. The paper now looks like a long rectangle.
- Fold the bottom edge up to meet the center line. You should now have a tighter rectangle with two layered flaps.
- Turn the paper so the open edges face up. Fold the lower left and lower right corners upward at a slight angle. This creates a pointed top on the rectangle.
- Open the model gently from the middle of the bottom edge. The paper should start to form a diamond-like pocket.
- Press the left and right sides inward so the pocket flattens into a diamond shape. The edges should line up neatly along the center.
- Fold the lower point of the diamond upward to the top point on one side, then repeat on the other side. The shape becomes smaller and thicker.
- Pull the two top layers apart from the center. The paper opens into a boat shape with a flat bottom.
This model gives you a useful lesson: origami is often about controlling how the layers open, not just about making lines on the page. If the boat won’t open cleanly, the earlier folds were probably off-center or too loose. If the paper tears at the corners, the folds were too sharp for the paper weight or the angles were too tight.
A second good first model is a simple paper hat, which uses similar folds but leaves you with a wearable shape in fewer steps. A jumping frog is also beginner-friendly, but it is less forgiving because the fold symmetry has to be close for it to hop well.
The point is not to collect models. The point is to finish one model, then recognize the same fold patterns in the next one. For a more structured beginner path, the beginner crane base and simple box both build skills without moving into advanced origami too quickly.
Why do my folds keep coming out crooked?

Crooked folds usually come from misaligned edges, weak creases, or paper that is too small for the model. Those three problems cause most beginner frustration, and they are all fixable.
If an edge is off by 2 or 3 millimeters at the start, the error multiplies as the model gets smaller. A corner that begins slightly off center can turn into a flap that sticks out or a body that leans. The fix is simple but tedious: reopen the fold, line up the corners again, and crease only after the edges match.
Weak creases cause another problem. The paper springs back, especially at the base of flaps. That makes later steps harder because the shape no longer stays where you put it. Use firmer pressure on the last pass of the fold, or reinforce the line with a crease folder.
Paper size matters more than many guides admit. A 10 cm square is harder to handle than a 20 cm square for a first attempt because the tiny corners are harder to pinch, and small errors are more visible. If a model feels cramped, use larger paper before assuming the instructions are wrong.
A few other beginner mistakes are worth watching:
- Folding from memory too early. The cost is usually a half-finished model with the wrong geometry.
- Heavy cardstock. The cost is resistance at every fold, plus thick corners that refuse to flatten.
- Skipping the unfold-and-check step. The cost is discovering the mistake several folds later, when it is harder to fix.
If you want cleaner results, pause after every major fold and compare the edges before pressing hard. That single habit solves more problems than any special tool.
Which easy origami models are worth learning next?
The easy origami models after the boat are the paper hat, a simple crane base, a jumping frog, and a box with a lid. Those models each teach a different skill without jumping straight into advanced origami.
The paper hat is useful because it teaches symmetry and diagonal folding. The crane base is not the full crane, but the base shape itself is one of the most important foundations in origami. It shows how a square can become a four-flap structure through a controlled set of folds. The jumping frog introduces folds that store tension, so the paper can spring or move. A simple box teaches repeated, even folds and the importance of square corners.
I would not start with a decorative animal that has thin legs or a flower with layered petals. Those models often depend on precise proportions and fine creases that are hard to read in beginner diagrams. They can be satisfying later, but they are poor first choices because they hide the basics behind ornament.
A better sequence is:
- Boat
- Hat
- Crane base
- Frog
- Simple box
That order moves from broad folds to more structured ones. It also gives you variety without changing the skill level too fast. If the same fold appears in several models, you are learning a pattern, not just copying steps.
A model is right for a beginner if it can be finished with ordinary square paper, takes under 20 minutes, and does not rely on tiny internal folds. If it needs two hands in a cramped pocket or a fold you cannot clearly see, save it for later.
How should I read origami folding steps without getting lost?
Read origami folding steps by matching the diagram to the paper in your hands, one move at a time, instead of trying to memorize the whole page first. That approach works better than line-by-line memorization because origami diagrams are spatial instructions, not text instructions.
The first thing to check is orientation. Rotate the paper exactly as the diagram shows before making the next fold. A model can look “wrong” simply because the paper is turned 90 degrees the wrong way. Many beginner errors are orientation errors, not folding errors.
Next, look for the symbols that indicate fold direction. A valley fold usually appears as a dashed line, while a mountain fold often uses dash-dot marking or a reverse cue, depending on the diagram style. If a step looks confusing, check whether it is telling you to fold, unfold, or squash. Those are not interchangeable moves.
A good reading rhythm is:
- Find the next step.
- Identify the paper edge or corner it refers to.
- Make the move lightly.
- Compare the result to the picture.
- Press the crease only after the shape matches.
This is slower than rushing through the page, but it keeps mistakes small. A rushed fold can force the whole model out of alignment, and a wrong move on step 3 often means step 7 will no longer make sense.
One useful standard is to keep the diagram visible while folding, not folded under your paper pile or phone. The page should stay open enough that you can glance back after each move. If your instructions are digital, zoom in until the fold lines and arrows are easy to read. Tiny diagrams are the enemy of clean work.
Origami becomes much easier once you accept that the paper is giving feedback at every step. If it resists, the fold is probably not fully aligned yet.
What is the easiest origami to start with?
The easiest origami to start with is usually a paper boat or a paper hat. Both use large, simple folds on a square sheet and can be finished in about 10 minutes with plain origami paper. They teach the basics without requiring reverse folds or tiny internal flaps.
Do you need special paper for origami?
You do not need special paper, but square origami paper makes beginner folding easier. Plain printer paper cut into a square can work for practice, though thinner origami paper usually creases more cleanly. Heavy cardstock is a poor choice for first attempts because it resists folding and can crack on tight bends.
How do you read origami folding steps?
Read origami folding steps by following the diagram line by line and checking the paper orientation before each move.
Drafted with AI; not yet reviewed by a person.