
Last updated: October 30, 2026
Quick Answer: Recycled paper crafts are easiest when you match the scrap to the job, and many of the best projects can be made in under an afternoon with basic tools. Recycled paper crafts are the easiest way to turn magazine stacks, newspaper bundles, cardboard boxes, and empty toilet paper rolls into useful objects instead of trash. The best projects usually use simple tools, take less than an afternoon, and make the most of the scrap you already have in the house.
Key takeaways
- Old magazines work best for rolled, folded, and woven pieces because the pages are already thin and colorful.
- Newspapers are good for larger forms, like cones, stuffing, and layered builds, but they wrinkle fast if you use too much glue.
- Cardboard gives your projects structure, so it belongs in organizers, mini frames, and sturdy bases.
- Toilet paper rolls can be repurposed into small tubes, gift boxes, and seed starters quickly because the cylinder shape is already there.
- Glue choice matters: school glue works for light assemblies, while a glue stick or white PVA glue gives cleaner control on thin sheets.
- The most useful craft is the one that fits the scrap you have most of, not the one that looks hardest.
What makes recycled paper crafts worth making?
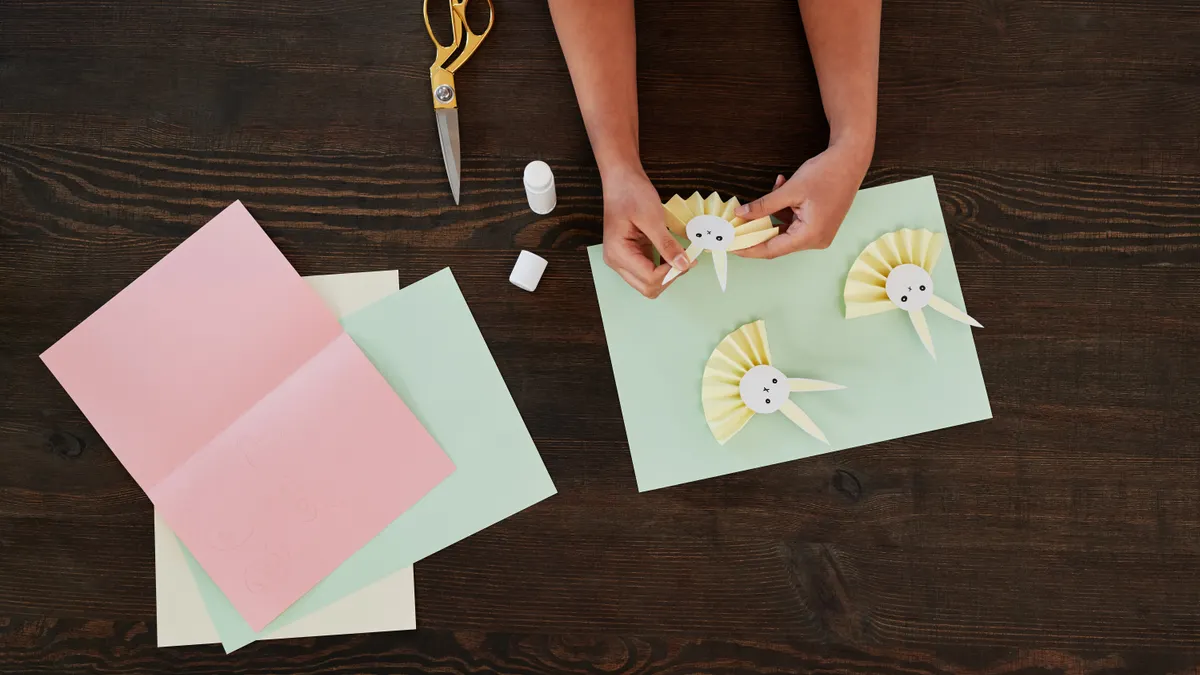
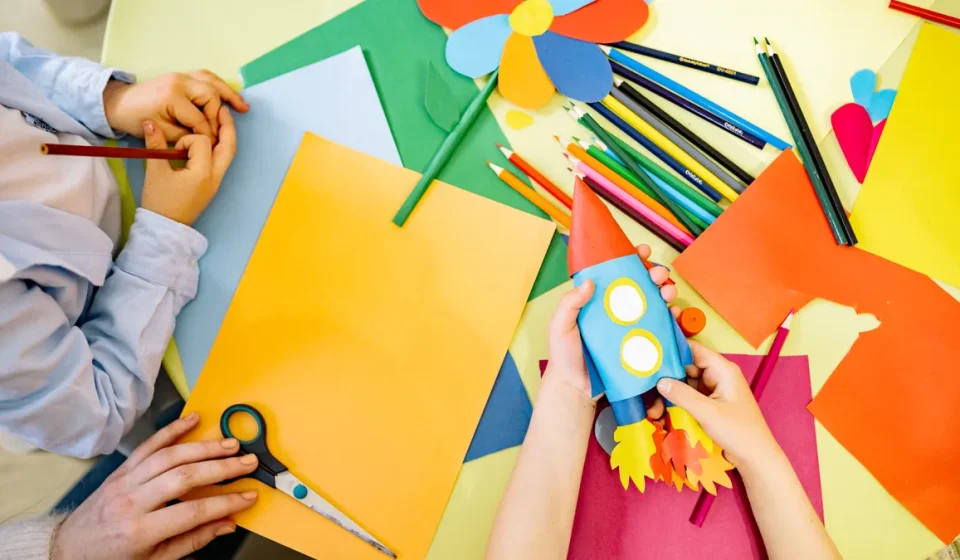
Recycled paper crafts are worth making because they use common household scraps and need only basic supplies like glue, scissors, and tape. That makes them cheap, low-mess, and flexible enough for a shelf, desk, gift, or party decoration.
The real advantage is not novelty; it is volume. Most homes already produce a steady stream of usable material: magazine covers, newspaper inserts, shipping cartons, and cardboard tubes from tissue rolls. Instead of waiting for a perfect project, the better approach is to sort the scrap by shape and thickness, then match it to a craft that suits that material.
A thin glossy sheet behaves very differently from corrugated cardboard. A magazine page can be rolled into beads, woven into strips, or folded into fans. Newsprint can be layered into cones, stuffed into forms, or wrapped around a base. Cardboard can carry weight and hold edges. A toilet paper roll gives you a ready-made cylinder, which saves time on cutting and shaping.
This matters because many generic craft lists ignore the difference between paper types. That is how projects fail: a flimsy page gets asked to support a frame, or a thick box gets treated like origami paper. To avoid that mismatch, consult the basic handling guidance from the Smithsonian’s collections care resources before choosing a material, and start by looking at the scrap in front of you, not at the end result you wish you had.
If you want a broader set of paper projects after this, the hub page for paper craft ideas can sit alongside this one without repeating the same scrap-first approach.
Which scrap should you use for each project?
Use the scrap that already has the right shape and thickness for the job. That simple match saves time, lowers frustration, and gives cleaner results than forcing one type of material to do everything.
Here is the easiest way to sort your pile:
- Old magazines: best for colorful strips, coils, collage layers, folded stars, and woven baskets.
- Newspapers: best for papier-mâché strips, cones, stuffing, wrap, and large background pieces.
- Cardboard: best for frames, dividers, base plates, mini organizers, and durable signs.
- Toilet paper rolls: best for small cylinders, seed starters, cord holders, stamps, and gift sleeves.
- Glue: best as a white PVA glue for structural work, a glue stick for flat layering, and a dab of hot glue only when speed matters more than neatness.
The main trade-off is strength versus finish. Cardboard makes a project sturdy, but it cuts harder and shows rough edges unless you cover them. Magazine pages are attractive, but they tear if you soak them. Newspaper is plentiful, yet the print can show through light layers unless you cover it or embrace the look.
A good rule is to begin with the stiffest piece that can still be cut by hand. If the project needs to stand up, choose cardboard. If it needs to bend, choose a magazine page or newsprint. If it needs a tube, start with the roll instead of making one from scratch.
One mistake is mixing all the scraps into one craft without a plan. That usually creates uneven drying times and weak seams. Another mistake is using too much glue on thin pages; it buckles the sheet and leaves shiny patches that never flatten fully. A thin, even coat is better than a thick stripe.
How do you make a magazine paper bead bracelet?
You make a magazine paper bead bracelet by cutting narrow triangles, rolling them tightly around a skewer, sealing them with glue, and stringing the dried beads on elastic cord. It can be a quick recycled paper craft because a single magazine can yield dozens of beads in under an hour of cutting and rolling.
Start with these supplies: old magazines, scissors, a wooden skewer or thin knitting needle, white glue or a glue stick, clear-drying adhesive if needed, elastic cord, and a small bowl to hold finished beads. Choose pages with strong color blocks or graphics; those patterns look better once rolled.
- Cut long triangles about 1 inch wide at the wide end and 6 to 8 inches long. The long taper helps each strip roll into a cone-shaped bead that looks finished instead of lumpy.
- Wrap the wide end around the skewer and roll toward the point. Keep the tension firm so the bead stays tight and does not unravel when you slide it off.
- Add a small dot of glue on the final point before releasing it. That seals the roll and keeps the tip from lifting.
- Slide the bead off and let it dry for about 10 to 15 minutes before handling. Drying time matters because soft beads flatten when you string them too soon.
- Repeat until you have enough beads for a bracelet, usually 15 to 25 depending on bead size and wrist width. Slight differences in shape are fine; they add variety.
- Thread the beads onto elastic cord and knot the ends securely, following the cord maker’s instructions if needed. A double knot gives better hold than a single knot, especially if the cord is thin.
The biggest advantage of this project is that it wastes very little. Offcuts from the triangles can become tiny spacer beads or collage scraps. The biggest drawback is patience: rolling is repetitive, and messy glue can stick to your fingers. If you want a cleaner finish, use a glue stick for the seal and keep a damp cloth nearby.
This project is not ideal for very young children without help, because the skewer point and small beads can be awkward to manage. It is better suited to an older child, teen, or adult who wants a neat, repeatable result.
What can you make from cardboard in an afternoon?
You can make desk trays, mini photo frames, cable holders, and simple wall pockets from cardboard in an afternoon. Cardboard is the strongest scrap in the stack, so it works best when you need a shape that keeps its form without metal fasteners.
A practical cardboard project is a small desktop tray. Cut a base about 8 by 10 inches from a corrugated box, then cut four side strips around 2 inches high. Score the fold lines with the back of a craft knife, bend the sides up, and glue them to the base. If you want cleaner corners, overlap the tabs by about half an inch instead of trying to make them meet perfectly.
Cardboard also works well for a frame. Cut two rectangles, one with a window and one solid backing, then sandwich a photo or drawing between them. Cover the front with magazine strips, wrapping paper scraps, or plain kraft paper. A 4-by-6 photo frame uses only a small amount of material, but it gives you a sturdy object that looks finished.
The main challenge with cardboard is edge cleanup. Rough fluting can catch on tape, fray when painted, and make the piece look unfinished. To fix that, trim with a sharp blade rather than blunt scissors where possible, then cover exposed edges with paper strips and glue. If the cardboard is warped, weigh it flat under a heavy book for 30 minutes before assembly.
These projects are not the best choice if you want a delicate look. Cardboard has bulk, and that bulk shows. It is the right material for structure, not for fine detail.
Toilet paper roll crafts that stay useful
Toilet paper roll crafts are best when the roll becomes a tube, not a decoration. The cylinder shape is already there, which makes it ideal for small storage, seed starting, desk sorting, and quick gift packaging.
One of the simplest uses is a cable holder. Cut the roll into rings about 1 inch wide, wrap each ring in magazine paper, and line them up in a box or drawer to keep cords from tangling. Another easy option is a pen sleeve or brush holder: flatten one side slightly, decorate the outside, and set it upright in a cup or tray.
You can also turn rolls into small gift boxes. Flatten one end, fold the edges inward, fill the tube, then flatten the other end the same way. Add a paper label or string tie and you have a neat container for a small candy bar, seeds, or a handwritten note.
For a garden-friendly version, press the bottom edges inward less tightly and keep the tube upright for seed starting. The tube will eventually soften in moist soil, which is part of why this type of project is useful. If you use this method, place the filled rolls in a tray and move them carefully so the sides do not collapse.
The mistake to avoid is overdecorating before you know what the roll will do. A seed starter needs open top space and decent airflow. A cord holder needs a stable base. A gift sleeve needs crisp folds. Pick the function first, then the finish.
Toilet paper rolls are not the right choice when you need lasting strength or moisture resistance. They are light-duty by nature. That is also why they are so easy to use.
How do you reuse paper scraps without making a mess?
You reuse paper scraps without making a mess by sorting them by size, cutting only what you need, and using glue in thin layers. That approach keeps your workspace cleaner and makes the finished craft look more intentional.
A simple workflow helps:
- Sort scraps into four piles: flat sheets, strips, tubes, and cardboard pieces. This takes about 5 minutes and prevents the “everything in one pile” problem.
- Choose one project and stage only the tools it needs. For most jobs, that means scissors, glue, a ruler, and a pencil.
- Cut all repeated pieces before assembly. If the project needs 12 strips or 8 tabs, cut them in one batch for consistent size.
- Apply glue with a brush, stick, or the tip of a scrap strip. A thin coat bonds faster and keeps pages from buckling.
- Press each seam for 10 to 20 seconds. That short hold usually gives enough grip for light craft work.
- Let the piece dry flat before adding weight or decoration. A flat dry surface prevents curling and dents.
The best way to reduce waste is to use offcuts as filler, borders, or test pieces. Small strips can become woven accents. Tiny rectangles can become tags or labels. Even the printed side of a torn newspaper edge can be hidden under another layer.
One common mistake is rushing from cutting to gluing without a layout. That leads to crooked edges and wasted scraps. Another is using a large amount of wet glue on every seam. It increases drying time and can soften the whole piece. If you need stronger adhesion, add a second thin layer after the first one sets rather than flooding the joint at the start.
The most practical part of recycling craft material is not making everything prettier. It is using what is already there in a way that still feels tidy.
Eco-friendly paper craft ideas that still look finished
Eco-friendly paper craft ideas that still look finished are the ones that use the least material for the most function. That usually means simple forms, reused scrap, and glue only where the structure needs it.
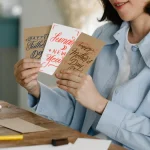
A few good examples are collage cards, wrapping sleeves, hanging stars, small trays, and wrapped boxes. None of these needs specialty supplies. They can all begin with something already in the house: a cereal box, a newspaper, an envelope, or a magazine page. The trick is to make the finish intentional by keeping the palette limited. Two or three colors usually look cleaner than a crowded mix.
This is where many generic craft guides go wrong. They chase a “recycled” look by piling on twine, stickers, paint, and glitter until the scrap itself stops mattering. A better approach is to let the original material show. Printed text, glossy color blocks, and corrugated edges can all be part of the design.
If you want a quick low-waste project, try a layered gift tag. Cut two card rectangles, round the corners, punch a hole if you have one, and glue a strip of magazine print over the front as a design band. Thread it with a short loop of string or ribbon. The whole piece uses very little material and still looks finished.
The main limitation of eco-friendly craft work is that it rarely looks hyper-polished. That is the trade-off. Natural fibers, reclaimed print, and visible seams often read as handmade rather than store-bought, and that handmade look fits this topic well. For this topic, that is a feature, not a flaw.
How do you reuse paper in crafts?
You reuse paper in crafts by matching the scrap to a job it can still do, such as wrapping, folding, rolling, layering, or reinforcing. That means a cereal box becomes structure, a magazine page becomes decoration, and a newspaper sheet becomes filler or a base layer.
The easiest method is to think in functions:
- Wrap: cover plain cardboard or a box with magazine pages for color.
- Fold: make envelopes, stars, or fans from clean flat sheets.
- Roll: turn strips into beads, tubes, or coils.
- Layer: build collage, paper-mâché strips, or reinforced surfaces.
- Reinforce: add cardboard inserts to keep a flap or tray stiff.
This flexible approach is useful because it stretches each scrap farther. A sheet that is too glossy for paint can still be folded. A torn edge that looks bad as a front panel can become an inside liner. A tube that feels flimsy on its own can become part of a larger form.
The honest downside is that not every scrap deserves saving. Soiled, damp, or heavily coated pieces are poor candidates for crafts because they smell, tear unpredictably, or resist glue. For long-lasting results, choose dry paper that still bends cleanly and cut away damaged sections before you start.
Drafted with AI; not yet reviewed by a person.